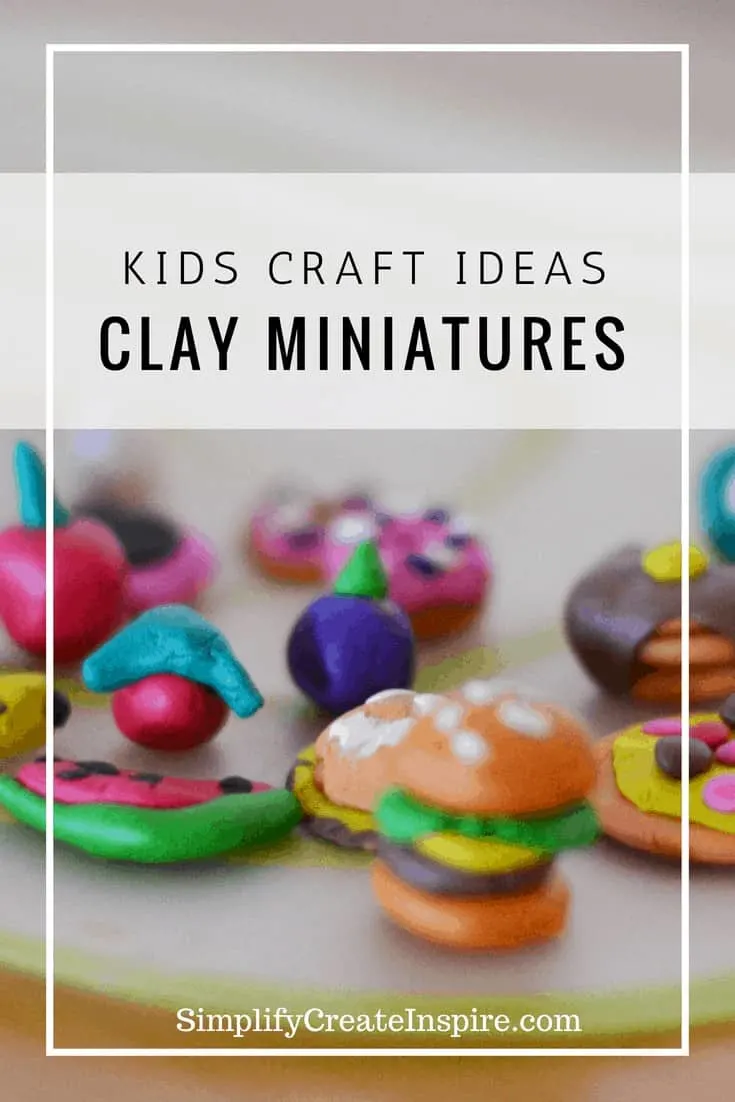
Making clay miniatures is a fun activity to do with kids to get them thinking creatively and working on their fine motor skills. Best of all, they’re easy to make! All you need is some oven bake clay, a few simple tools, and your imagination.

How To Make Clay Miniatures
My kids adore all the most intricate and mess-inducing toys.
Think Barbies and all their accessories, My Little Pony, buttons, play money and all the other things that seem to spread from one end of the house to the other.
These tiny toys seem to be their love language! They can’t get enough. Meanwhile, I used to spend so much time picking them up before we got them into a proper chore routine.
So it was only natural that I was the coolest mum ever on the day I introduced them to clay miniatures!
I vowed to give them the most fun school holidays ever and making clay sculptures was definitely up there with their favourite holiday activity! So much so that my eldest wanted to do it every single day!!
And those hours of entertainment cost me all of a couple of bucks!
Waht Is The Best Type Of Clay?
Mind you, at the time I had no idea there were so many different types of modelling clay available and the kind we got wasn’t ideal for our purpose, however, we made do and kept it totally budget-friendly too! The following week we got polymer clay and were able to bake our new creations.
Depending on your goal, you may want to get some proper clay that can be baked or dried out so you can keep your little sculptures forever.
We got oil-based plasticine type modelling clay the first time that doesn’t dry out, even when you oven bake it. Lucky my kids loved their clay miniatures so much they took total care not to squash them afterwards!
Our second attempt was with cheap coloured polymer clay that you bake in the oven for around 30 minutes and they harden. So cool!! It was only a few dollars more expensive too.
When purchasing your clay, if you want to create clay miniatures you can keep, look for air dry or oven bake clay options. There are lots of different types on Amazon. Read the reviews first and make sure they do as you want!
Otherwise, your local craft store or hardware store has options too. Here in Australia, Spotlight, Officeworks and Bunnings all have hardening modelling clay options. Or you can get the re-moldable kind like we did and it’s usually a couple of dollars from any discount store or department store.
CREATING CLAY MINIATURES
Here’s a basic tutorial on how to make clay miniatures. You can use this same technique to make all sorts of small figurines, ornaments, and decorations.
What you need:
- Modelling clay (see above for types)
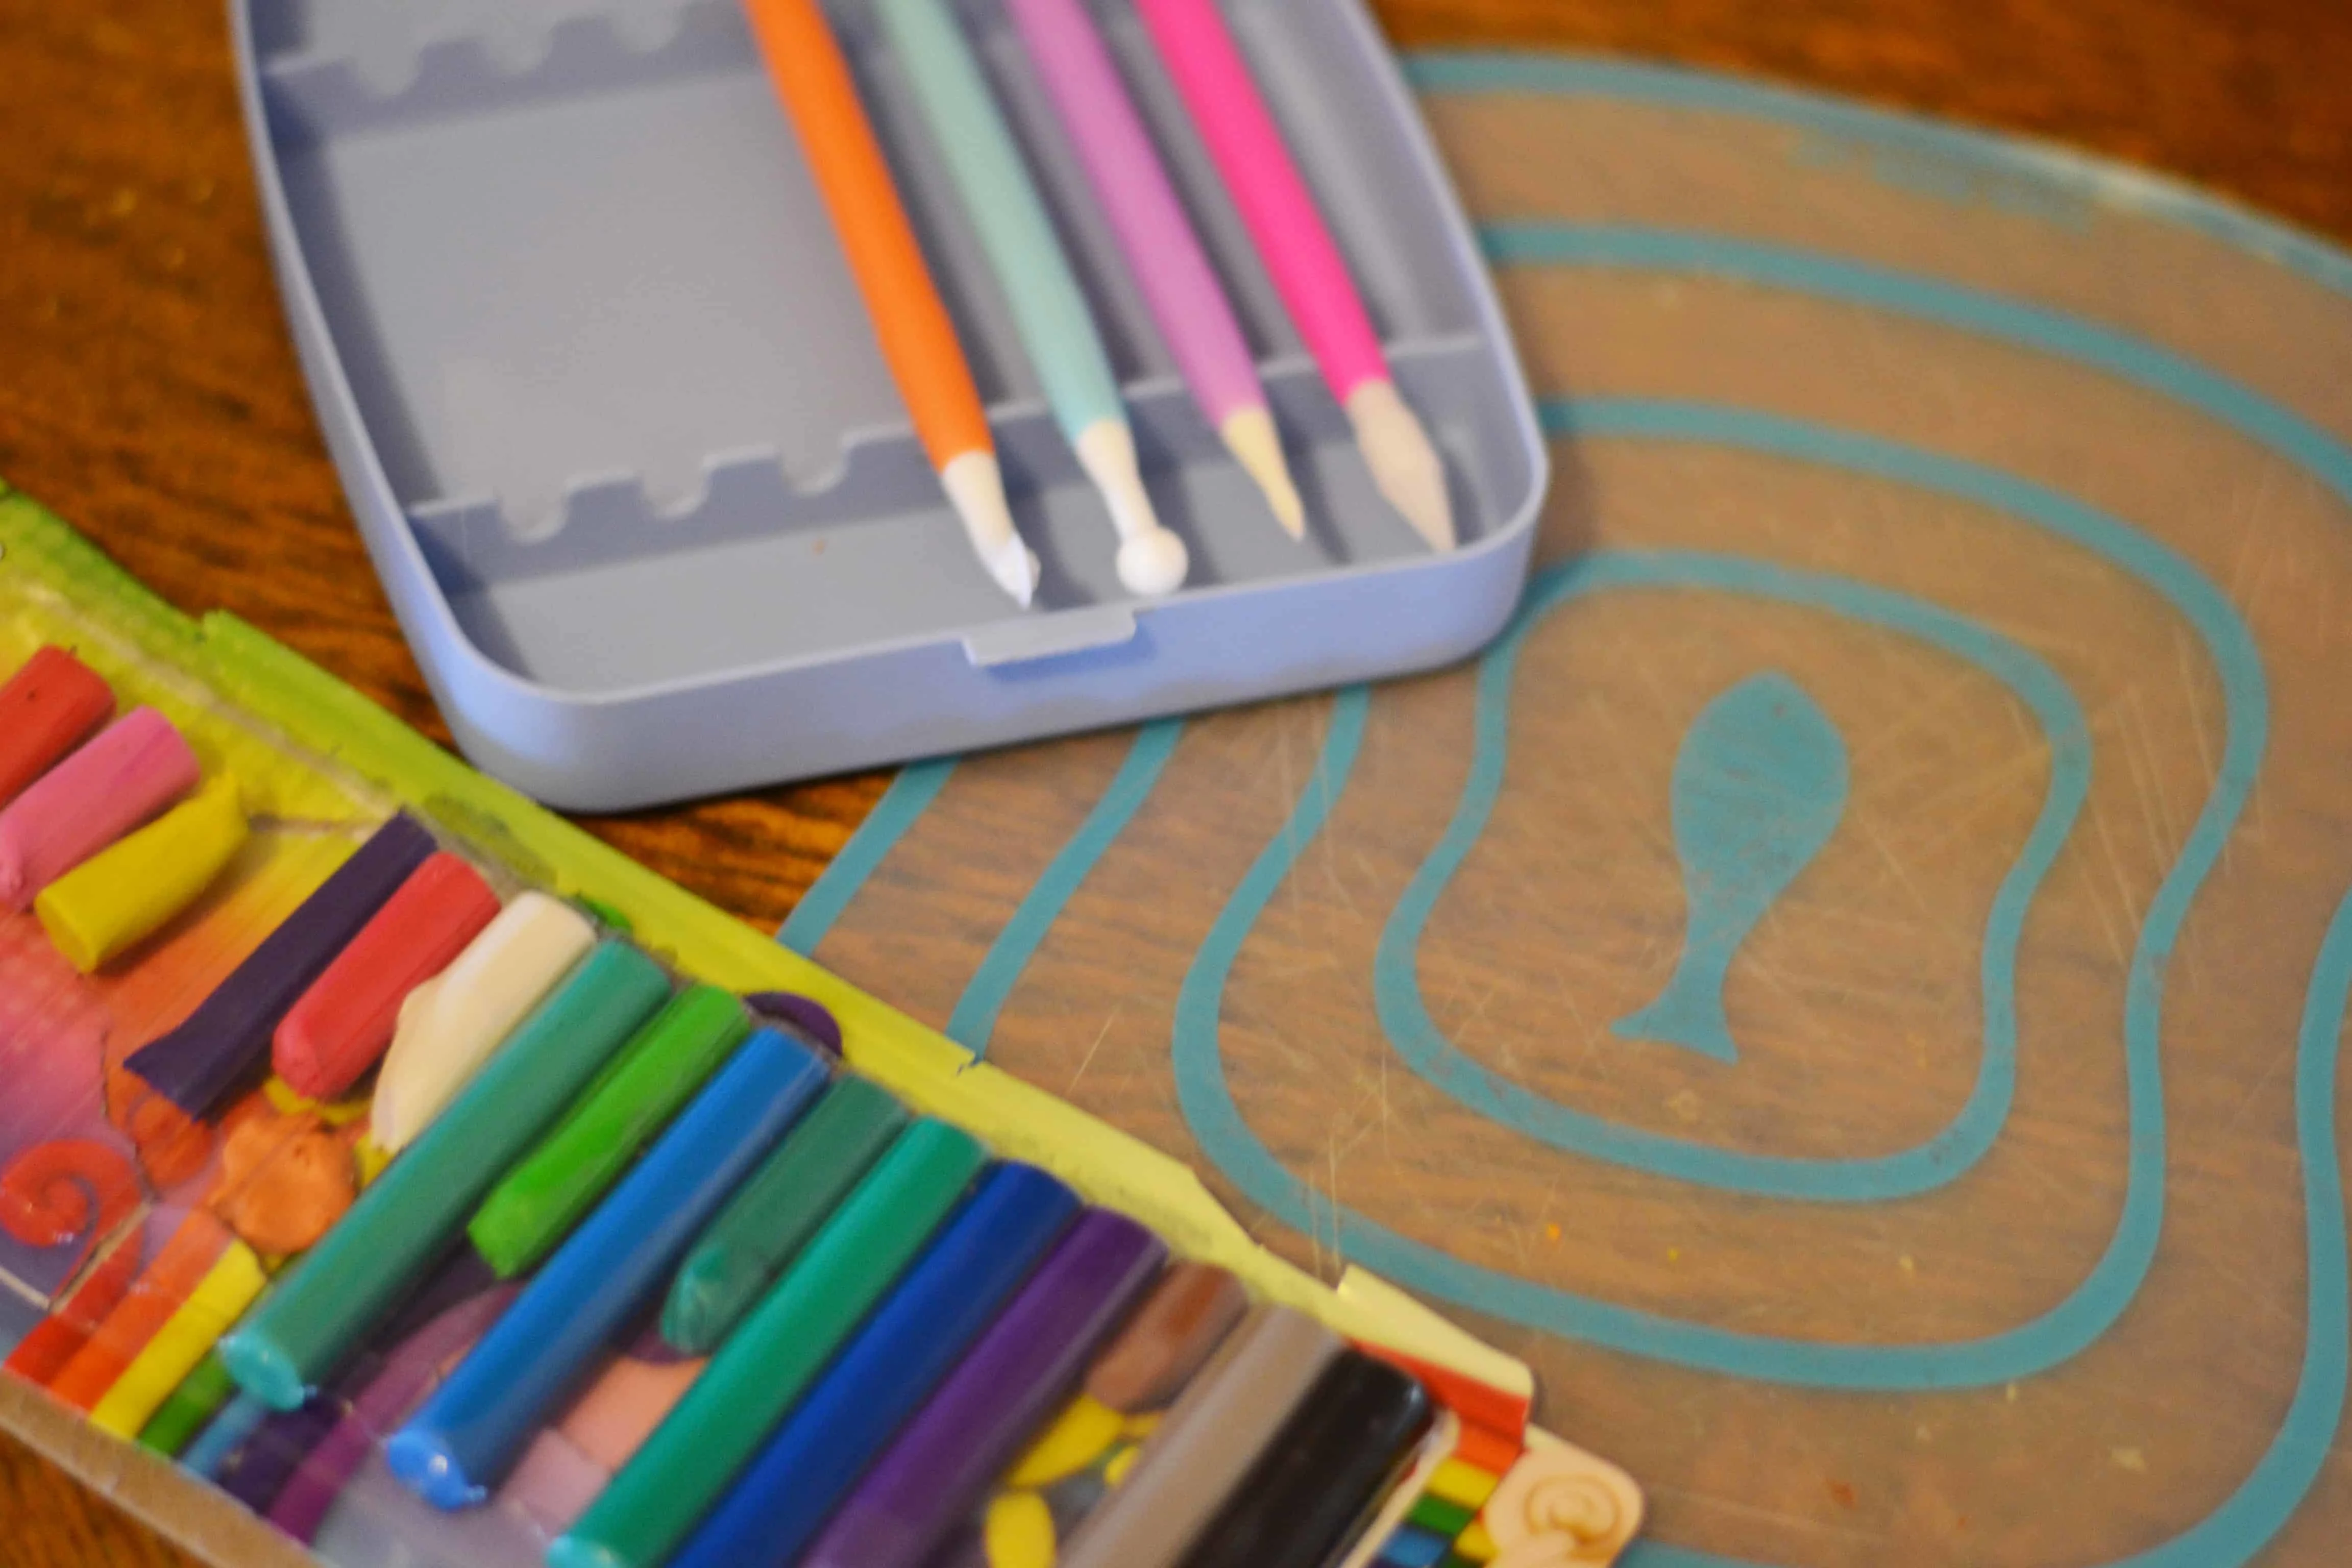
- Tools – we used cake decorating tools
- Suitable surface or tabletop for creating
- Oven tray
- Aluminium foil
- Oven
Making Clay Miniatures:
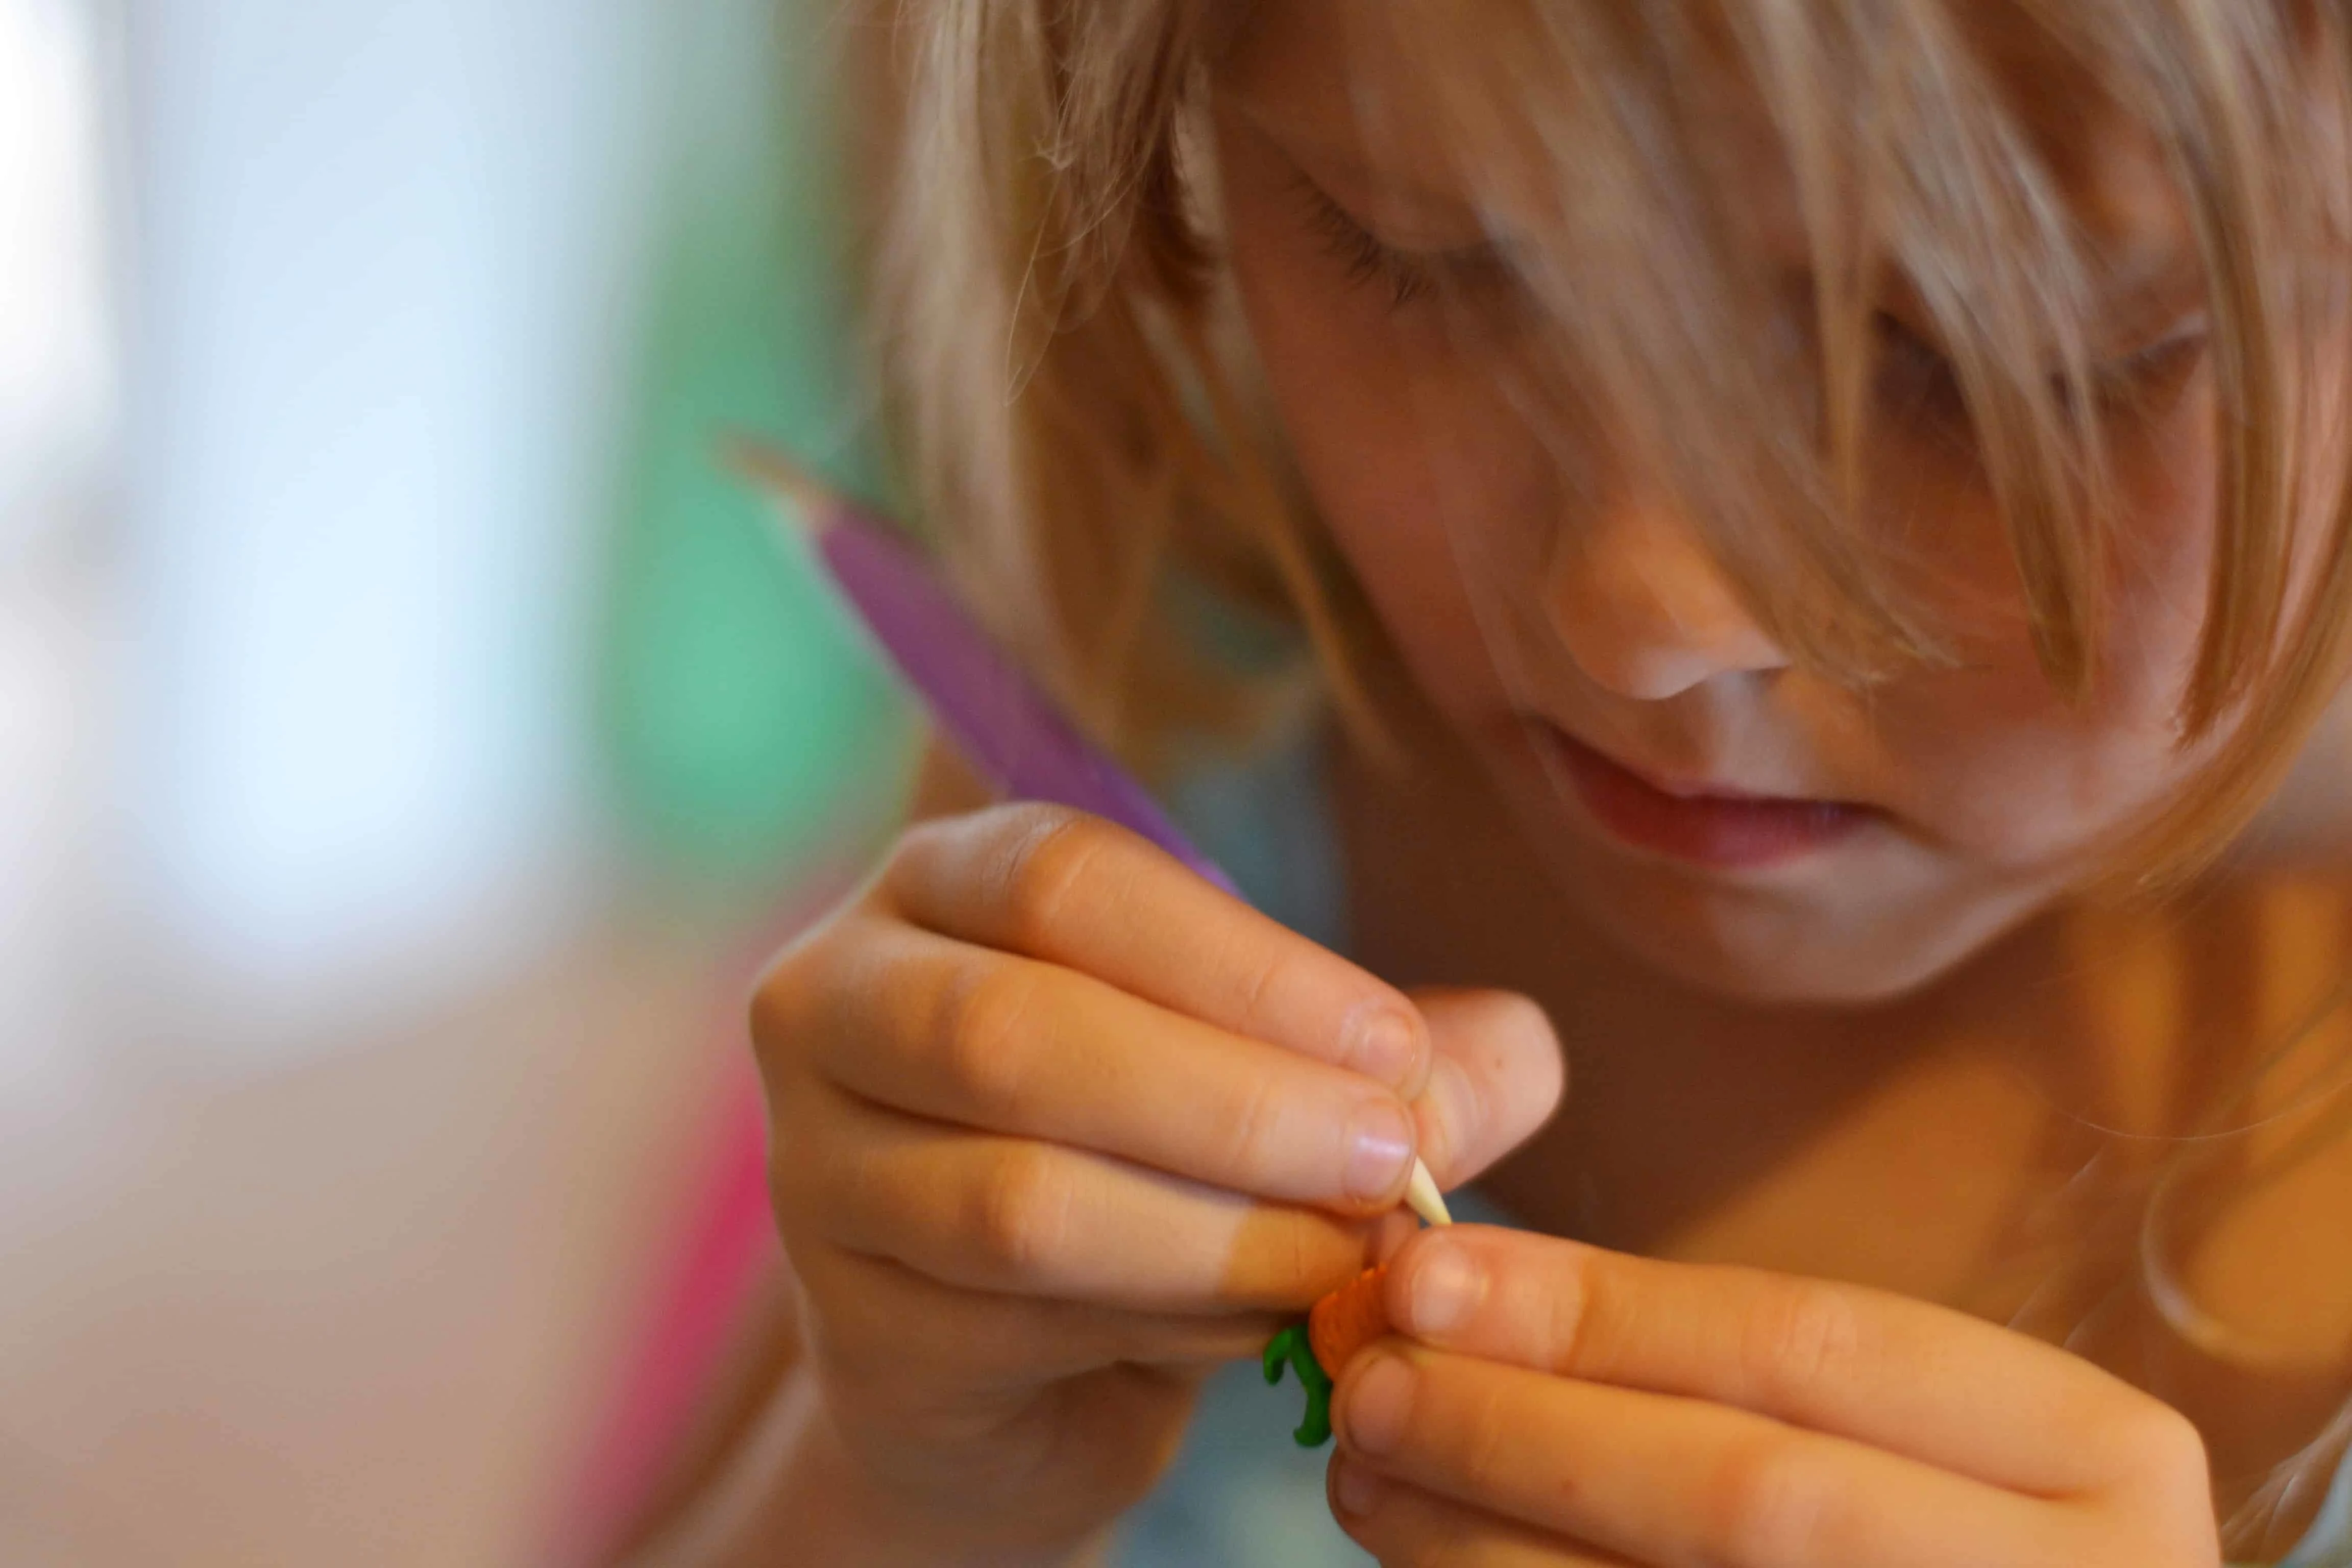
We watched a few YouTube tutorials on Playdoh and modelling clay sculpting before and while we worked to give us some inspiration, but pretty much your imagination is all you really need!
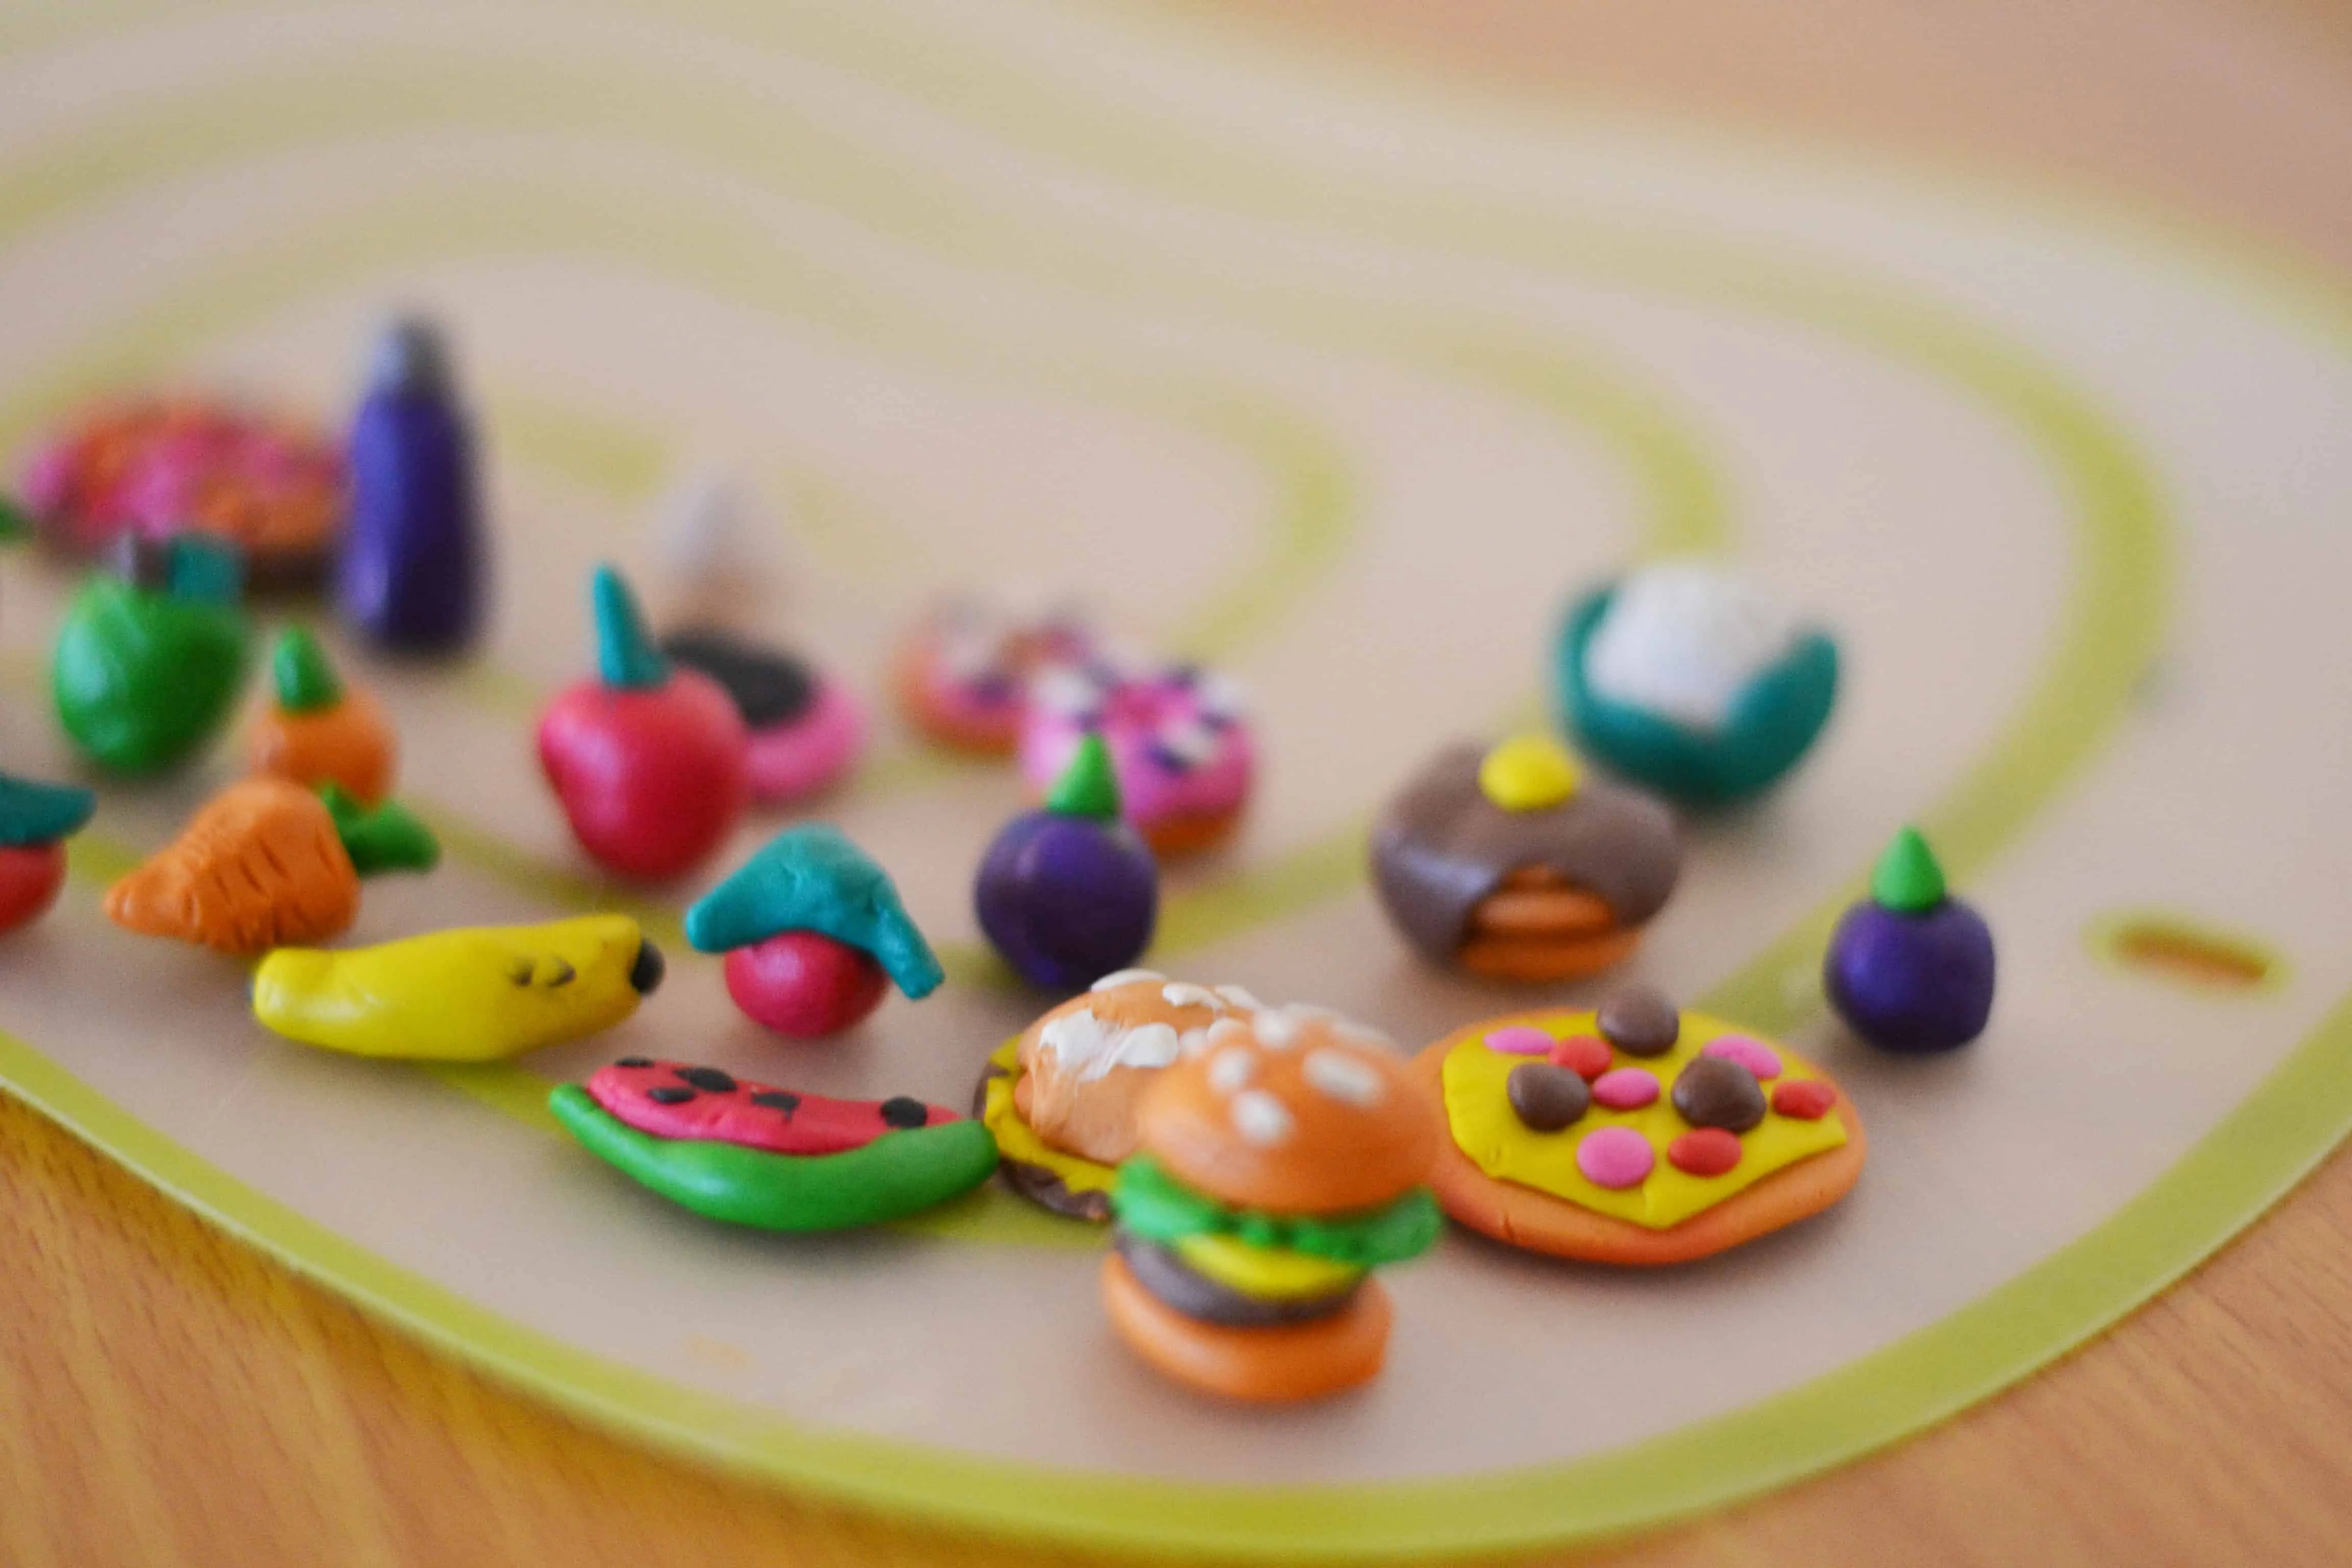
My girls were excited by the idea of having little food and accessories for their Barbies, LOL Dolls and My Little Pony toys so we worked on a small scale to create our clay miniatures.
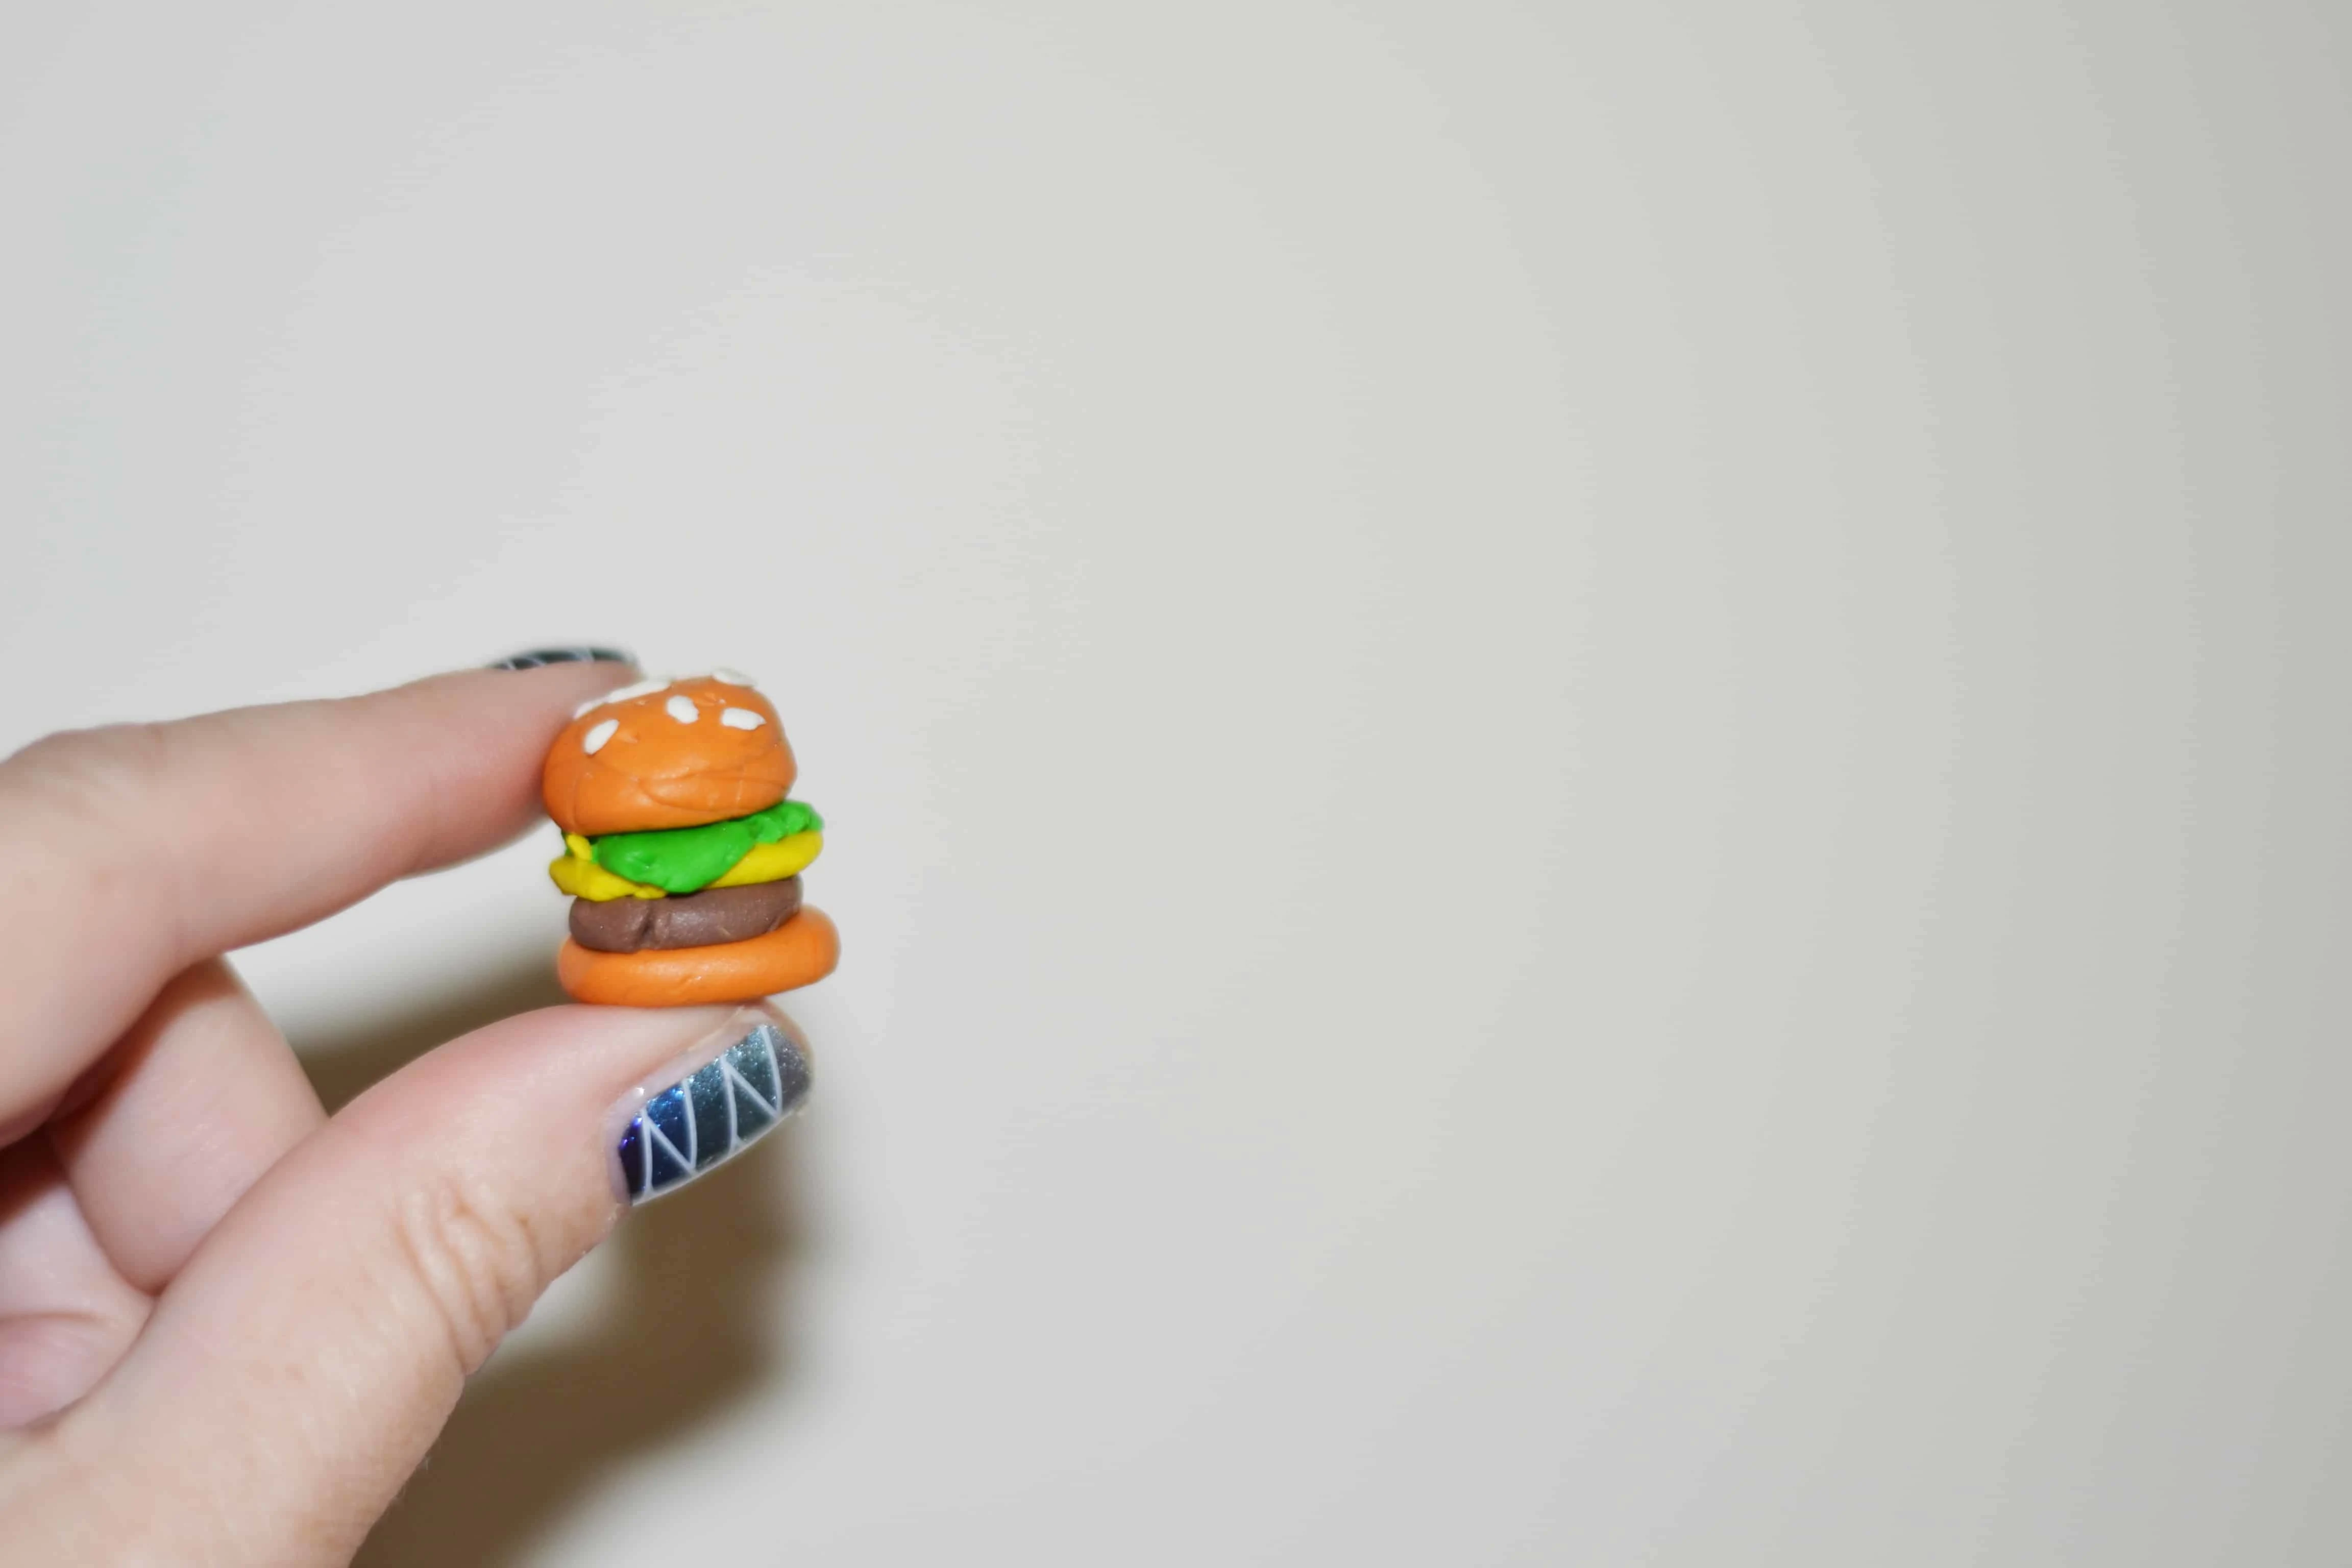
We layered the different coloured clays to make our little sculptures. To avoid making a mess, we used plastic flexible chopping boards for our work space which are easy to throw in the dishwasher afterwards and avoided any clay on the table.
However, the clay makes minimal mess anyway thankfully! Other types of drying clay may be messier though.
As for tools, we had a set of cake decorating tools that were perfect for creating detail and moulding our little items.
If you don’t have a set of these, you will still have plenty of stuff around the house that will work just as well. Things like cuticle pushers and knitting needles are a great alternative too!
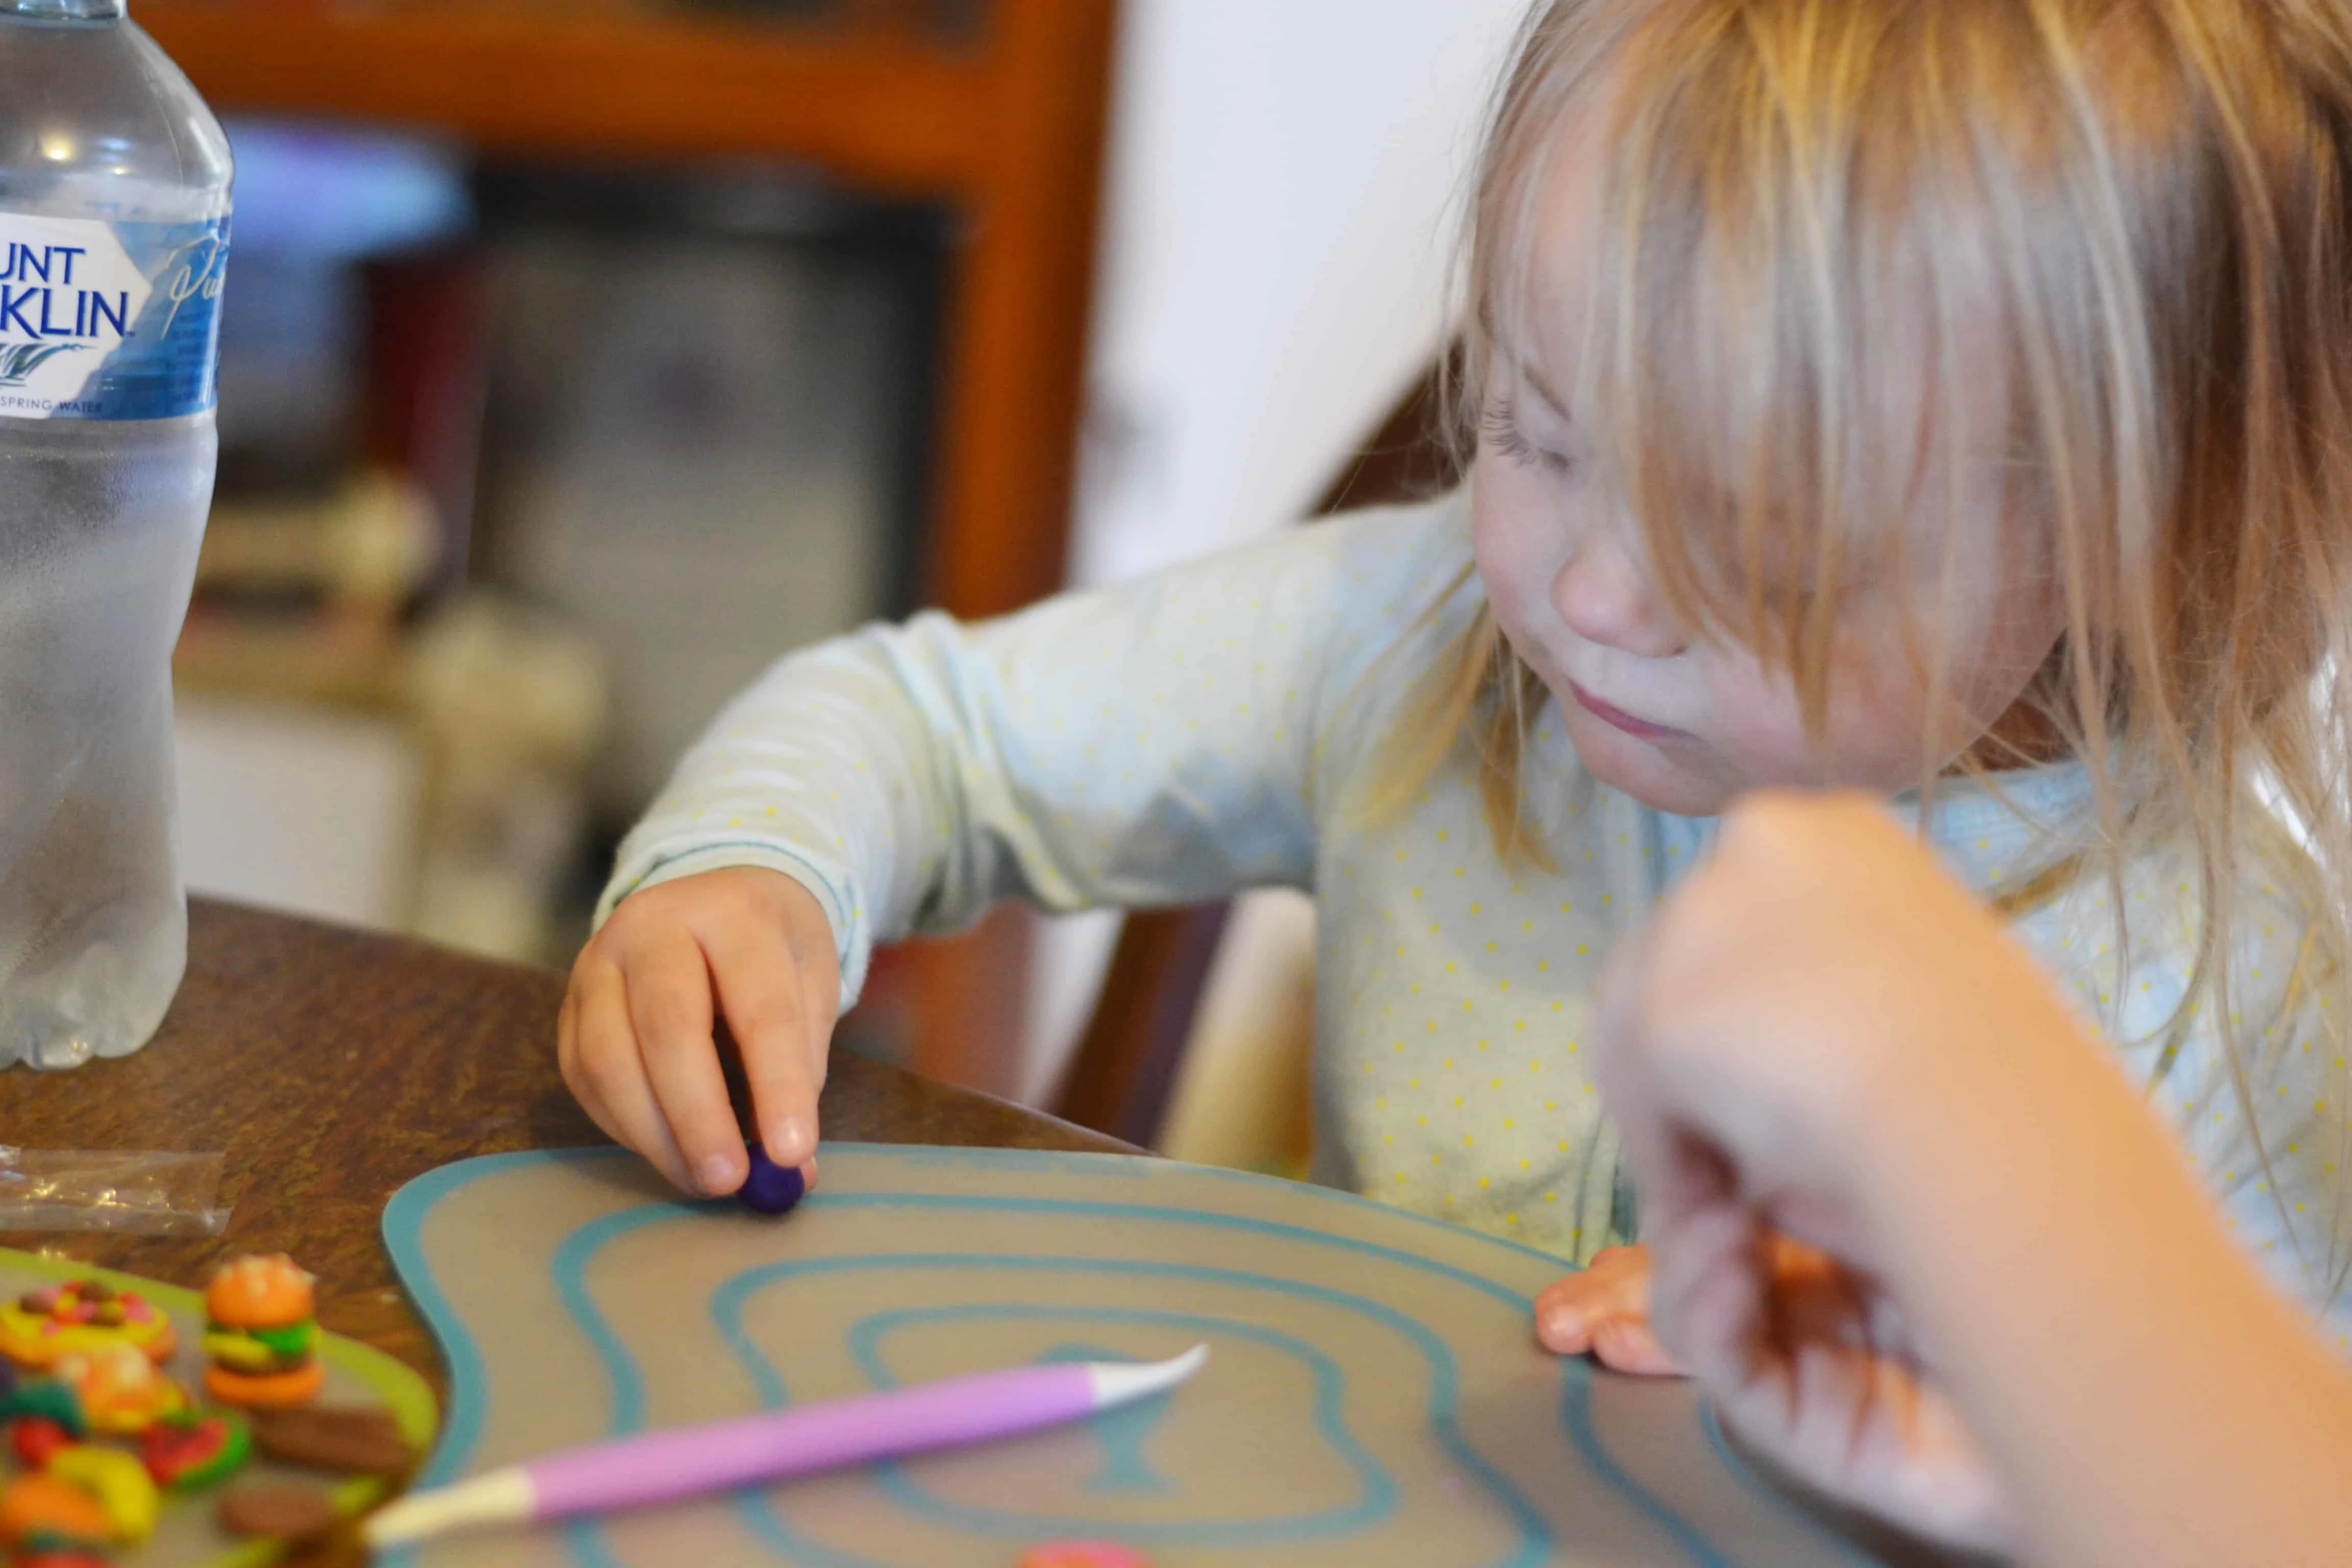
After we made our first set of clay miniatures, I was reluctant to let the kids play with them in their room since we could not bake or set them, being the wrong kind of clay, however, they persisted and I gave in. How could you resist such cute faces?
And they were so excited.
They played for hours and hours… day after day with them and they were so gentle that I didn’t really have to worry too much.. for about a week. Then my youngest squished them all into a big ball and my eldest almost cried.
So lucky that same day we found polymer clay in the same store as we had gotten the other clay. Woohoo!! So we started again and created a new set of little sculptures that will actually last!
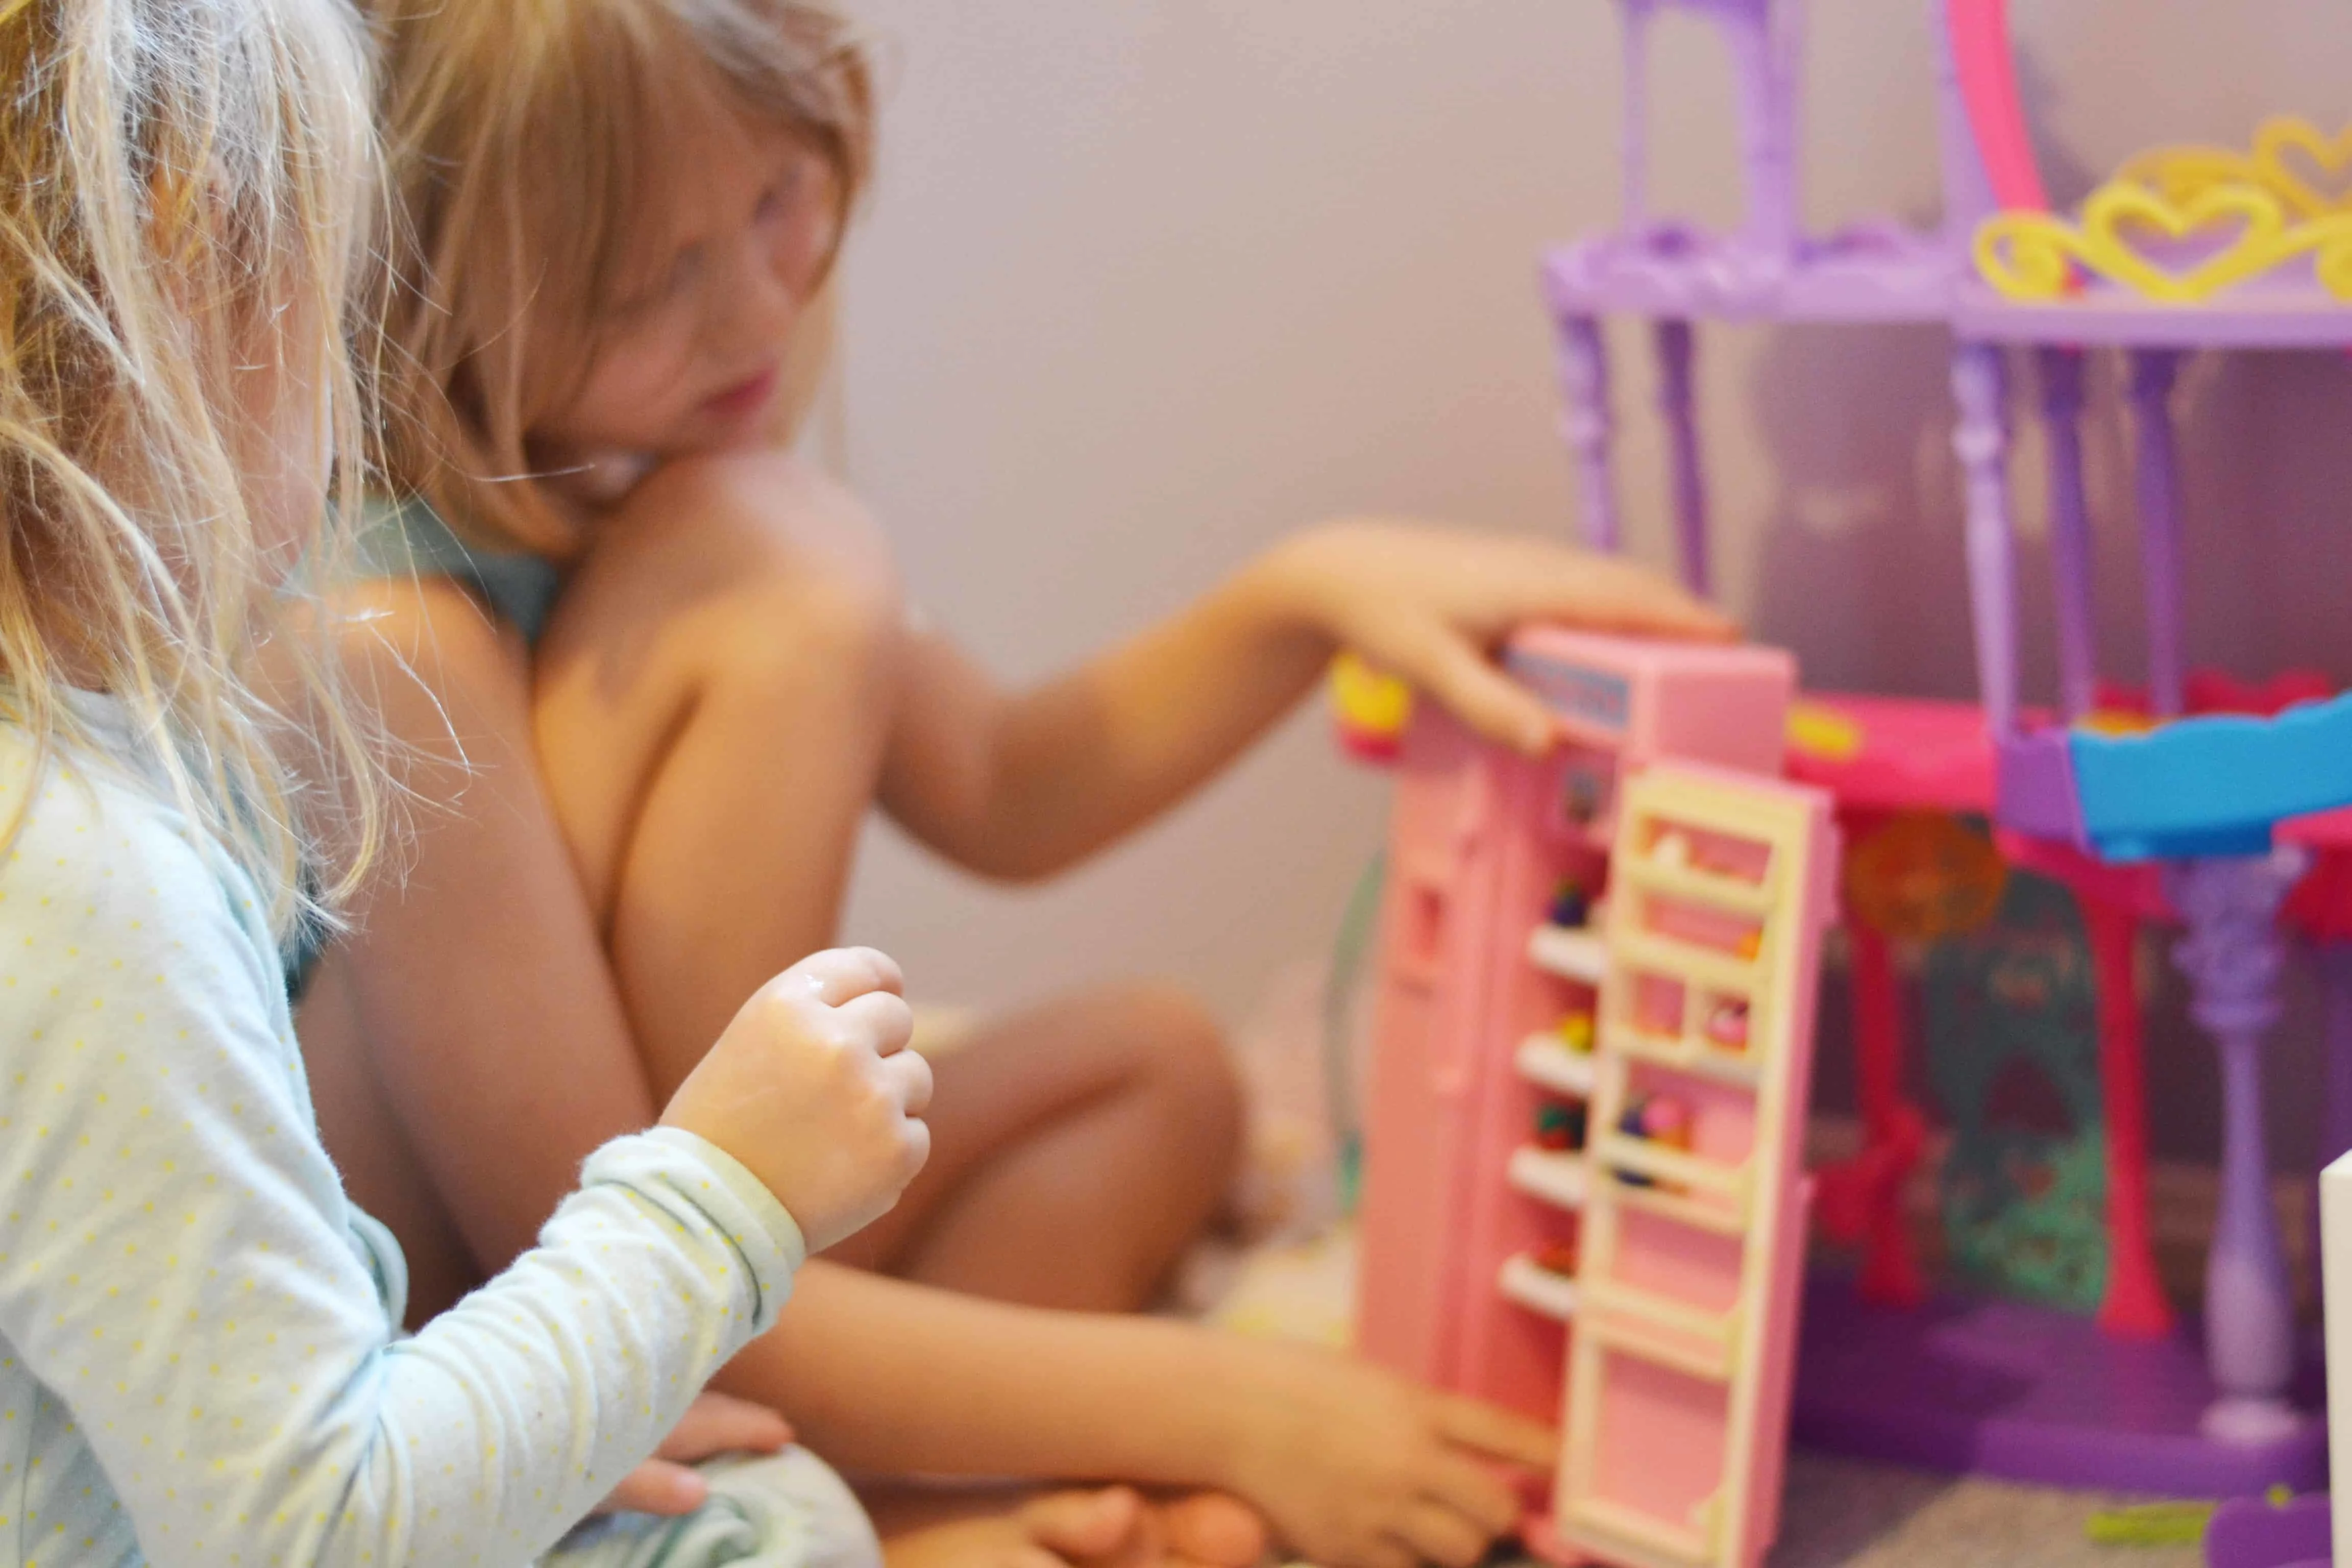
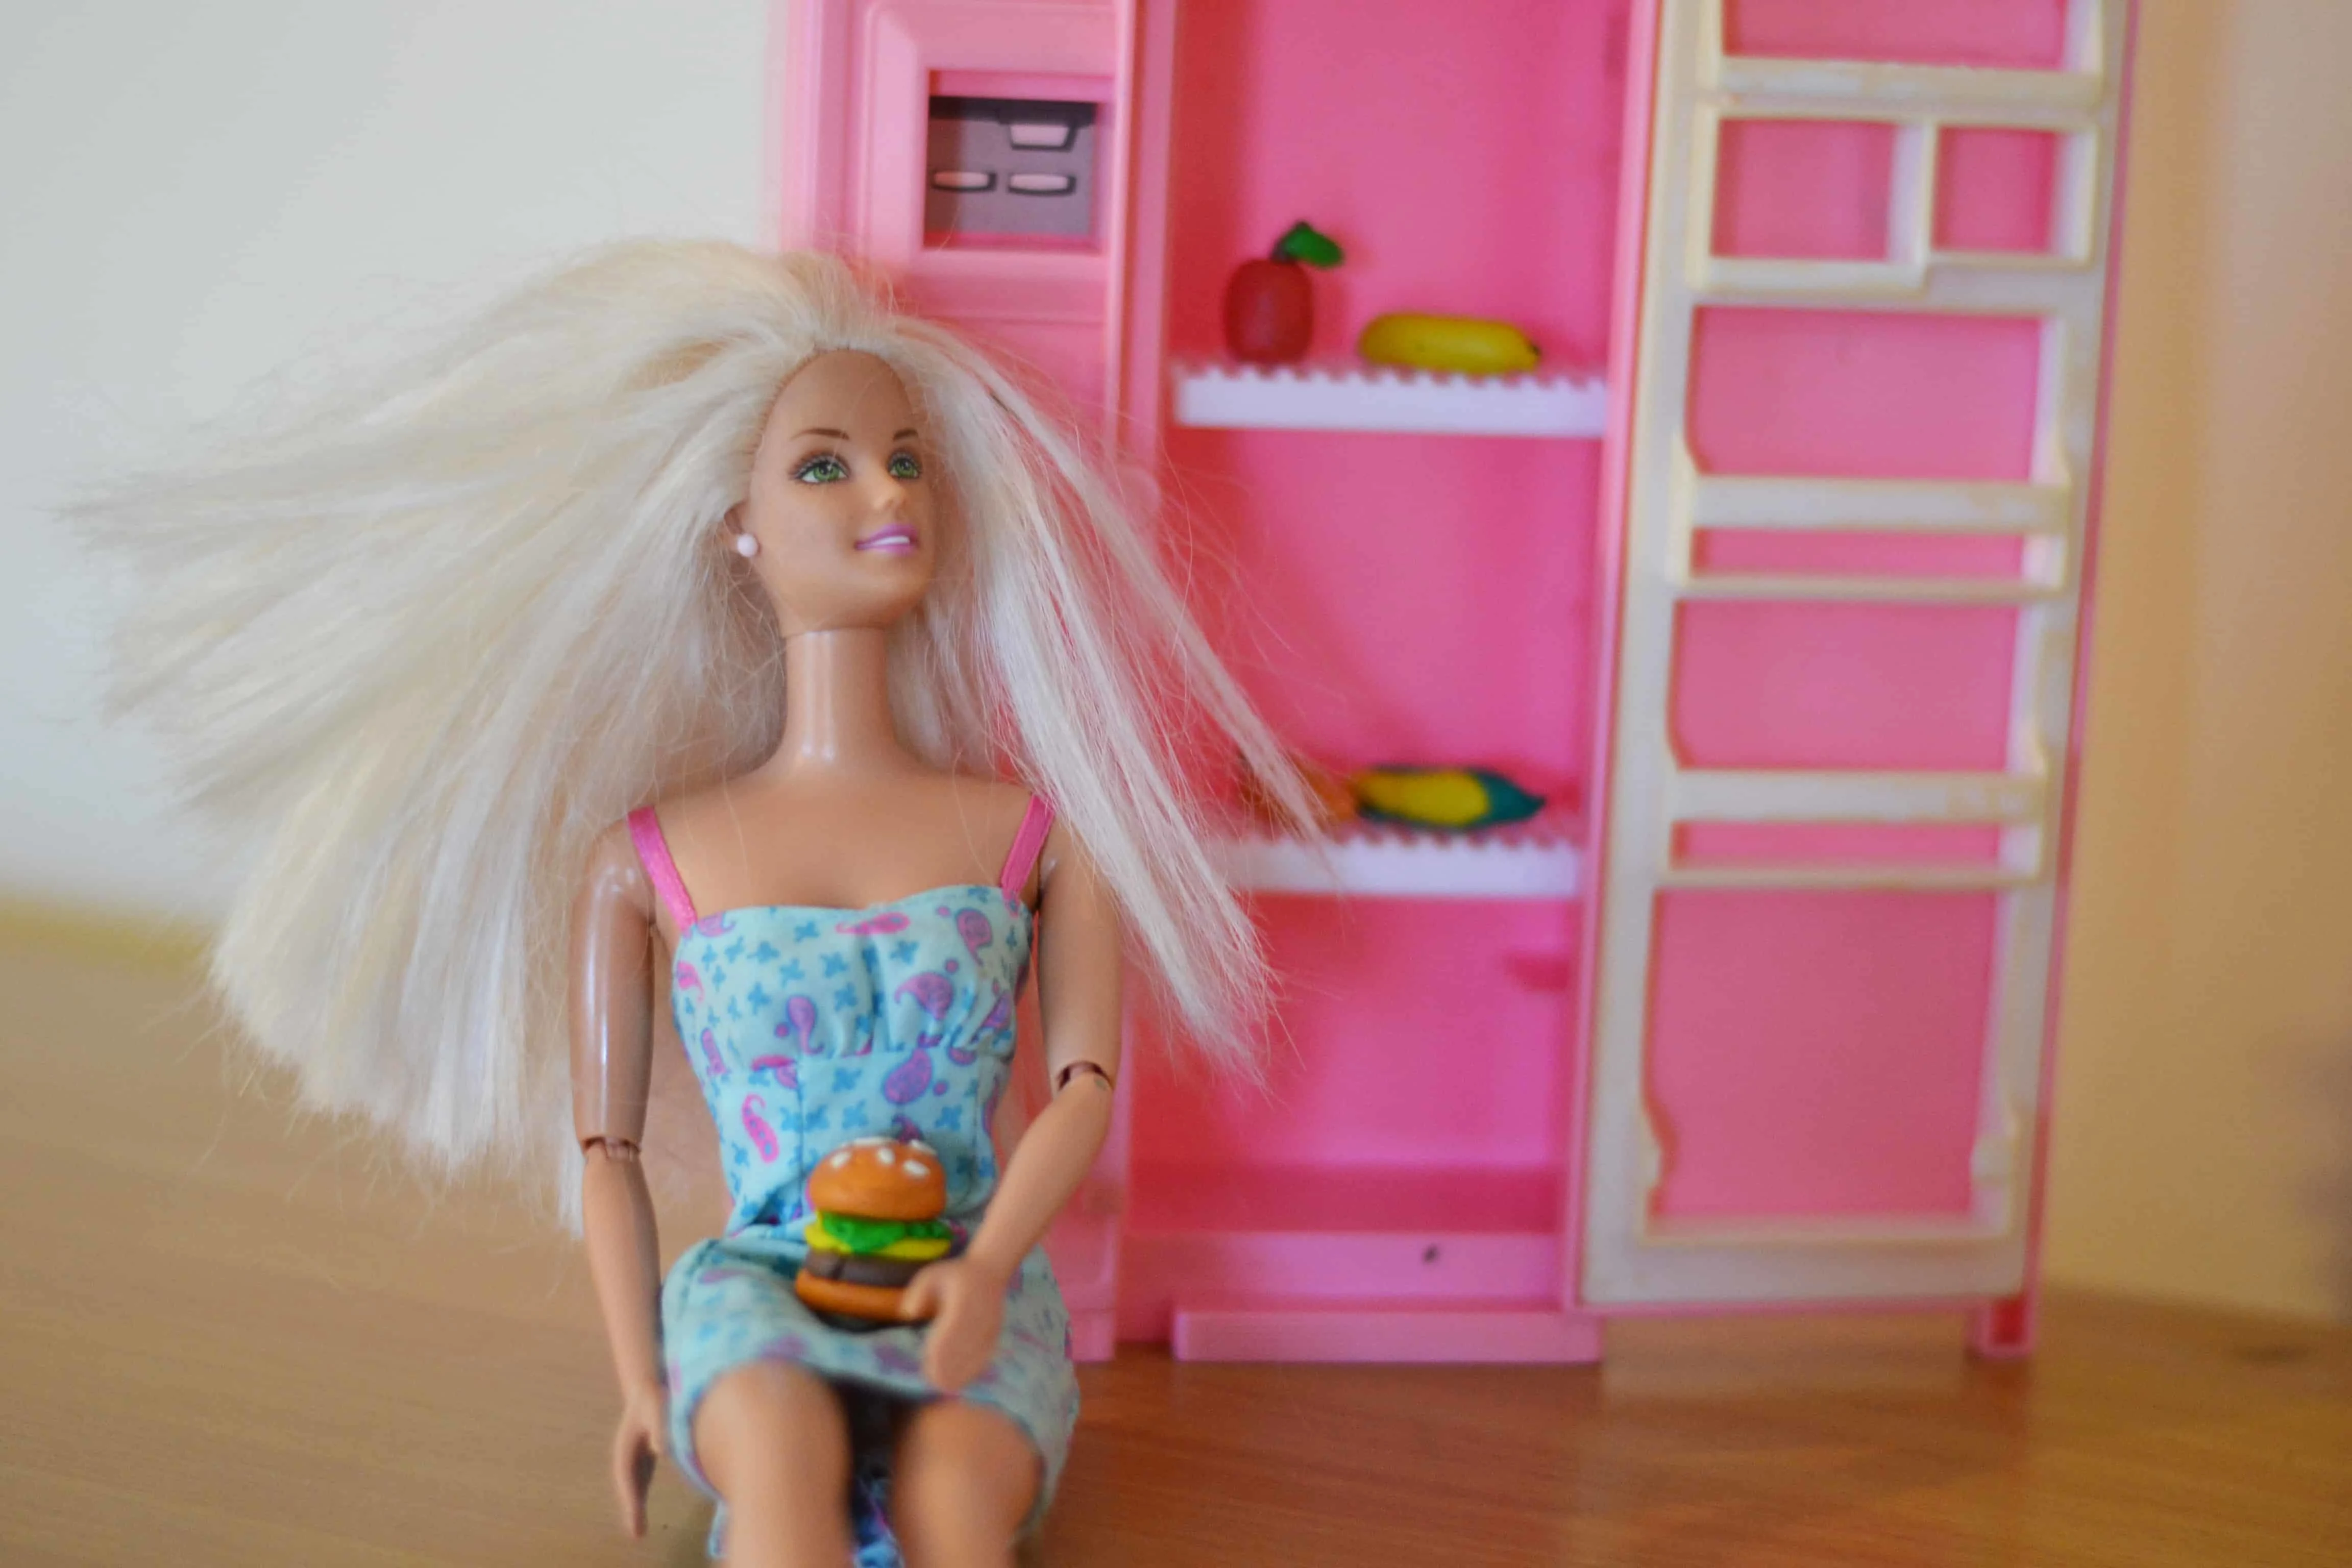
If you get white clay that can be baked, instead of the coloured version we got, it would be pretty easy to paint them afterwards, however, plenty of air-dry clay does come coloured already so it depends on what you find in your local store or what your preferences are.
Painting them would be a fun activity for the kids too! And that’s probably what we will try next time!
For our clay, we needed to preheat the oven to around 120-130 degrees Celsius and bake for 30 minutes until set. They came out hot of course so about 15 minutes before the kids were able to play with them.
For more kids craft ideas:
- DIY suncatchers with flowers
- Friendship bracelets tutorial
- Pom pom bedroom rug
- Handmade door sign
- Baby headbands
What do you think of our cute little clay miniatures?
