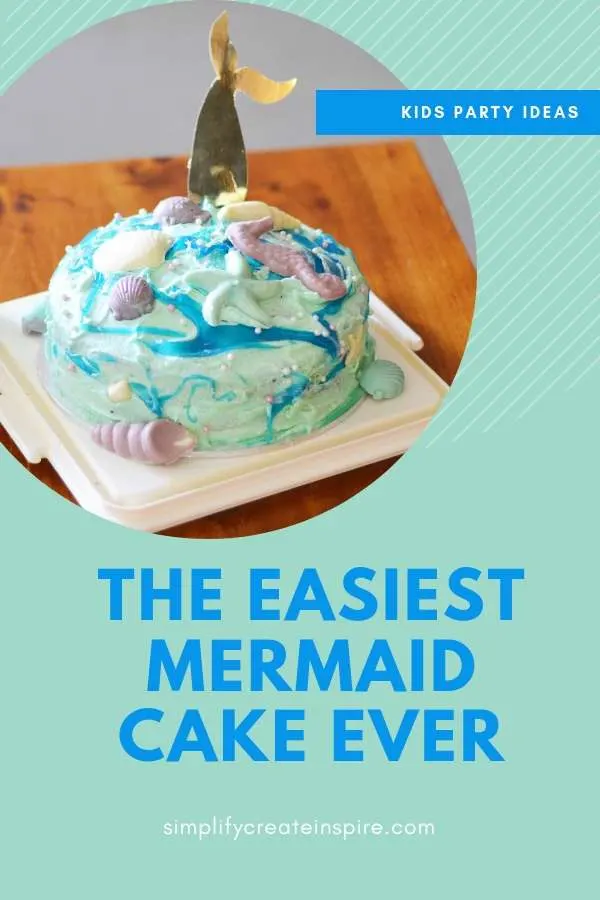
Make your own simple DIY Mermaid birthday cake using any cake mix and edible slime. This easy tutorial will help you create a fun kid’s birthday party ocean cake in under 2 hours from start to finish – baked, iced and decorated!
Planning A Mermaid Party
We recently celebrated the 4th birthday of our youngest daughter.
Every year when you ask her what he wants for her birthday, her answer is always the same – CAKE!
So each year I pretend I know what I’m doing and attempt to create a masterpiece she loves. This year that was a DIY mermaid cake theme.
She’s a typical little girl in her love for unicorns, mermaids and pretty things so it didn’t take her long to put in her birthday theme request for the year.
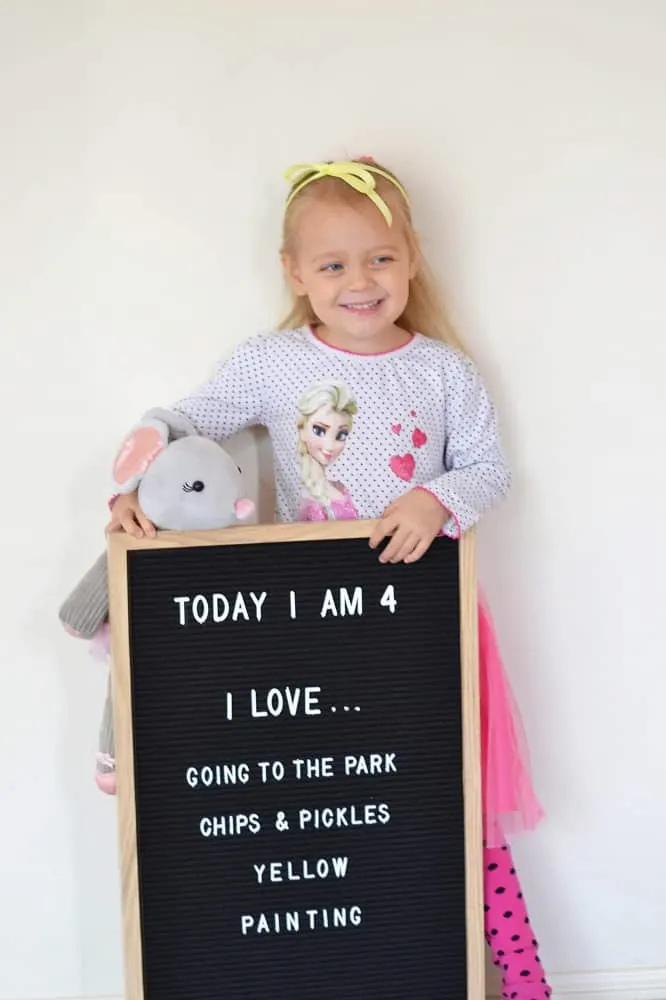
While her birthday itself was a fairly low key event with extended family and a few friends, the cake was still super important in making her day special.
So I wanted to share with you all how this really simple mermaid cake tutorial came together!
RELATED: How to give your bedroom an ocean theme makeover
HOW TO MAKE A MERMAID CAKE
This DIY mermaid cake tutorial is really easy with step by step instructions for how I created my daughter’s 4th birthday cake.
It didn’t take a lot of time to put together either, making it great if you are short on time yourself. It doesn’t need a great deal of prep either.
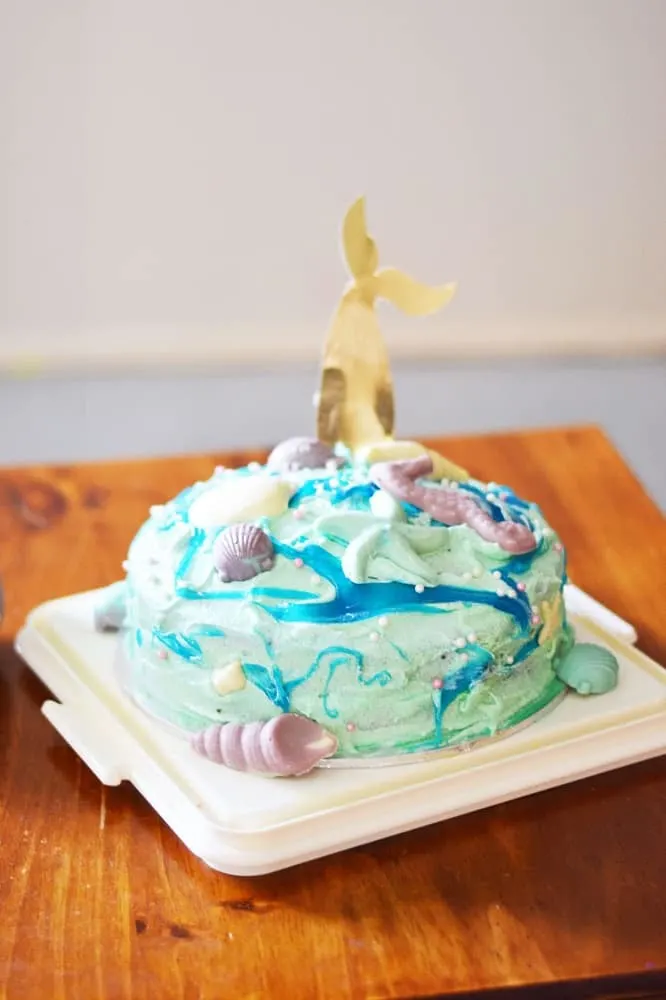
You can leave the mermaid tail cake topper out if you just want to go for an ocean theme cake instead.
Or substitute it for a pre-made cake topper if you don’t want to DIY!
You can get some gorgeous mermaid cake toppers from Etsy!
If you make your seashell chocolates and mermaid cake decorations while your cakes are baking and cooling, they will be ready to use as soon as you’re able to decorate the cake too.
This means the whole cake will take under 2 hours!
Or add an extra hour if you only have one round cake pan, as you will need to bake your cake layers separately. I had to do this.
Watch the quick tutorial video for making a mermaid theme birthday cake. Full step by step instructions below:
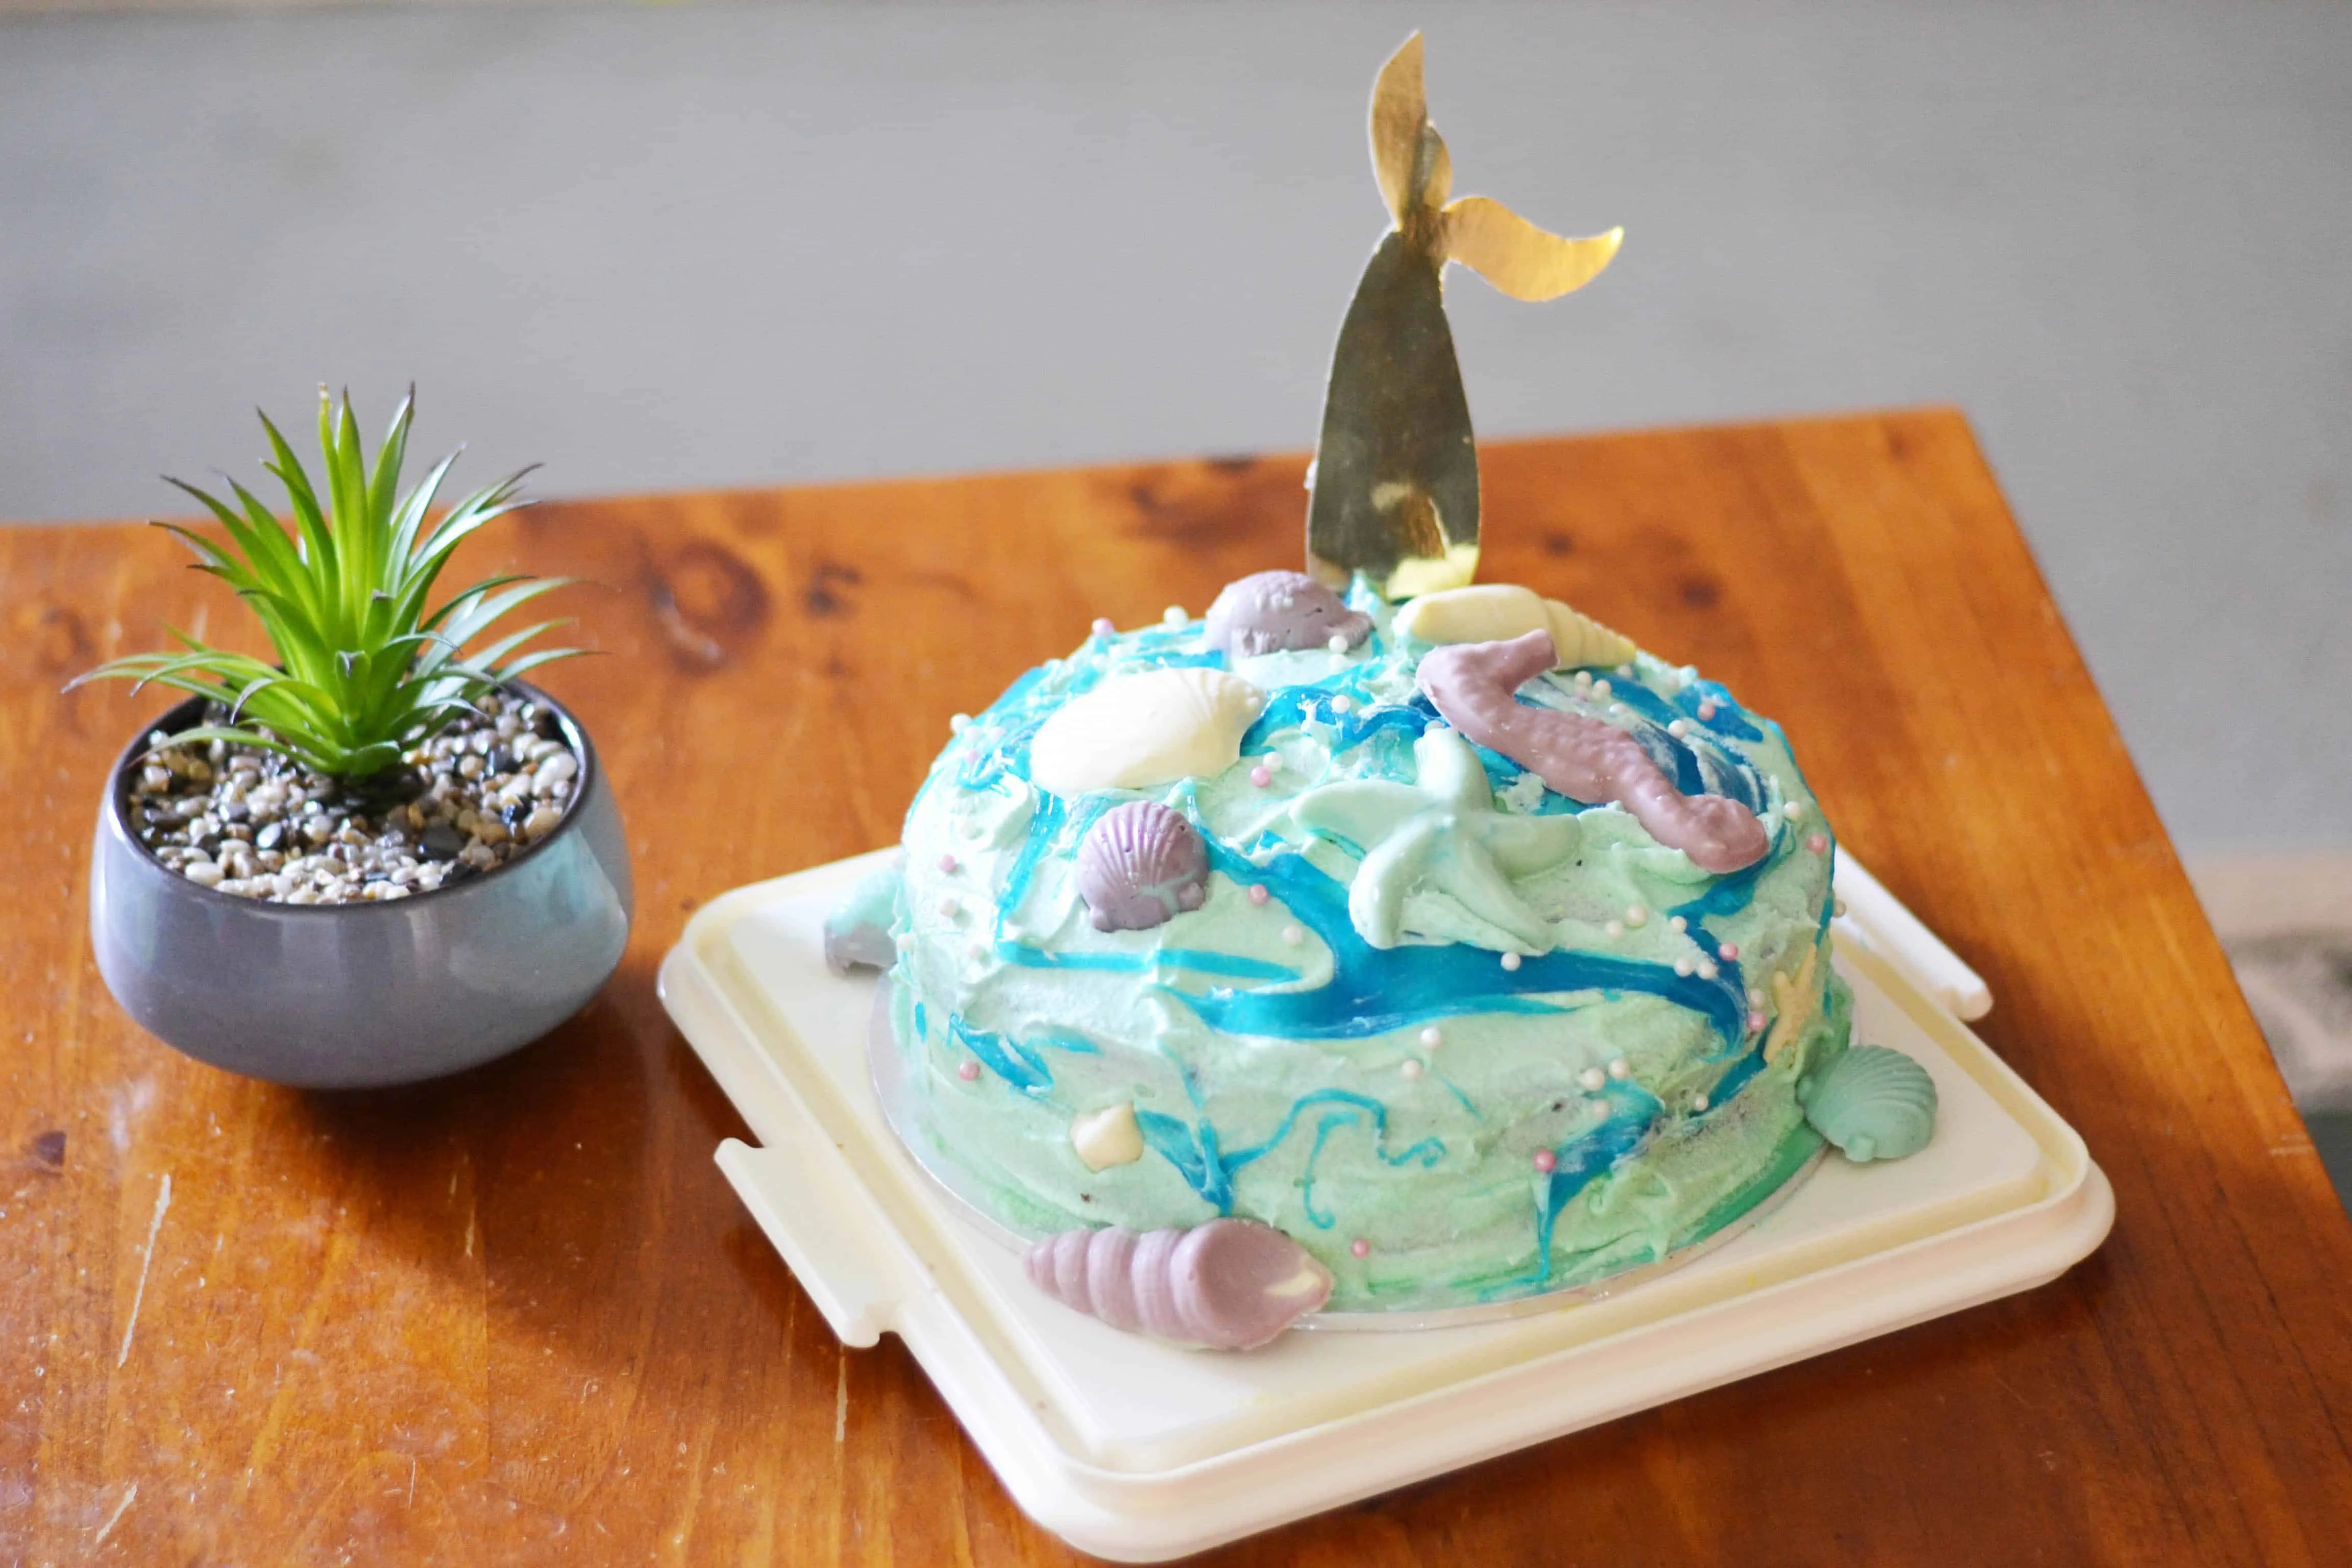
What you will need
- 2 x cake mix (any flavour is fine)
- Buttercream icing
- Food colouring
- White chocolate melts
- Edible slime
- Seashell chocolate moulds
- Candy cake decoration beads
- A circular cake pan around 20cm in diameter
- Gold cardstock
- Lead pencil
- Scissors
- Paddle pop stick
How To Make A Mermaid Cake Instructions
STEP ONE – Preheat oven to recommended temperature as per your cake mix or if you are using a cake mix recipe, follow the directions.
STEP TWO – Bake 2 circular cakes using a 20cm cake pan like this one. Allow cakes to completely cool before decorating.
STEP THREE – While your cakes are baking, melt around 100 grams of chocolate in a heatproof bowl. I usually do this in the microwave for around 30-40 seconds, stir then repeat until melted.
STEP FOUR – Add a few of drops of food colouring to your melted chocolate to achieve the desired colour. I did this in batches using different colours. Once mixed, pour into your chocolate moulds. Place in refrigerator to set.
Tip: Tap your chocolate moulds gently on your bench to remove air bubbles.
STEP FIVE – Mix up buttercream icing (or use the icing mix that comes with your cake mix if using one) using your electric mixer.
STEP SIX – Add blue food colouring to your icing mixture until you achieve the desired colour for your ‘water’.
STEP SEVEN – Spread a layer of buttercream on top of your first cake, then place the second cake on top. You can add a 3rd cake layer if you wish for a taller cake.
We did 2 as it was a small family party and less guests to feed.
STEP EIGHT – Apply icing to your stacked cake, covering the sides and top of your cake.
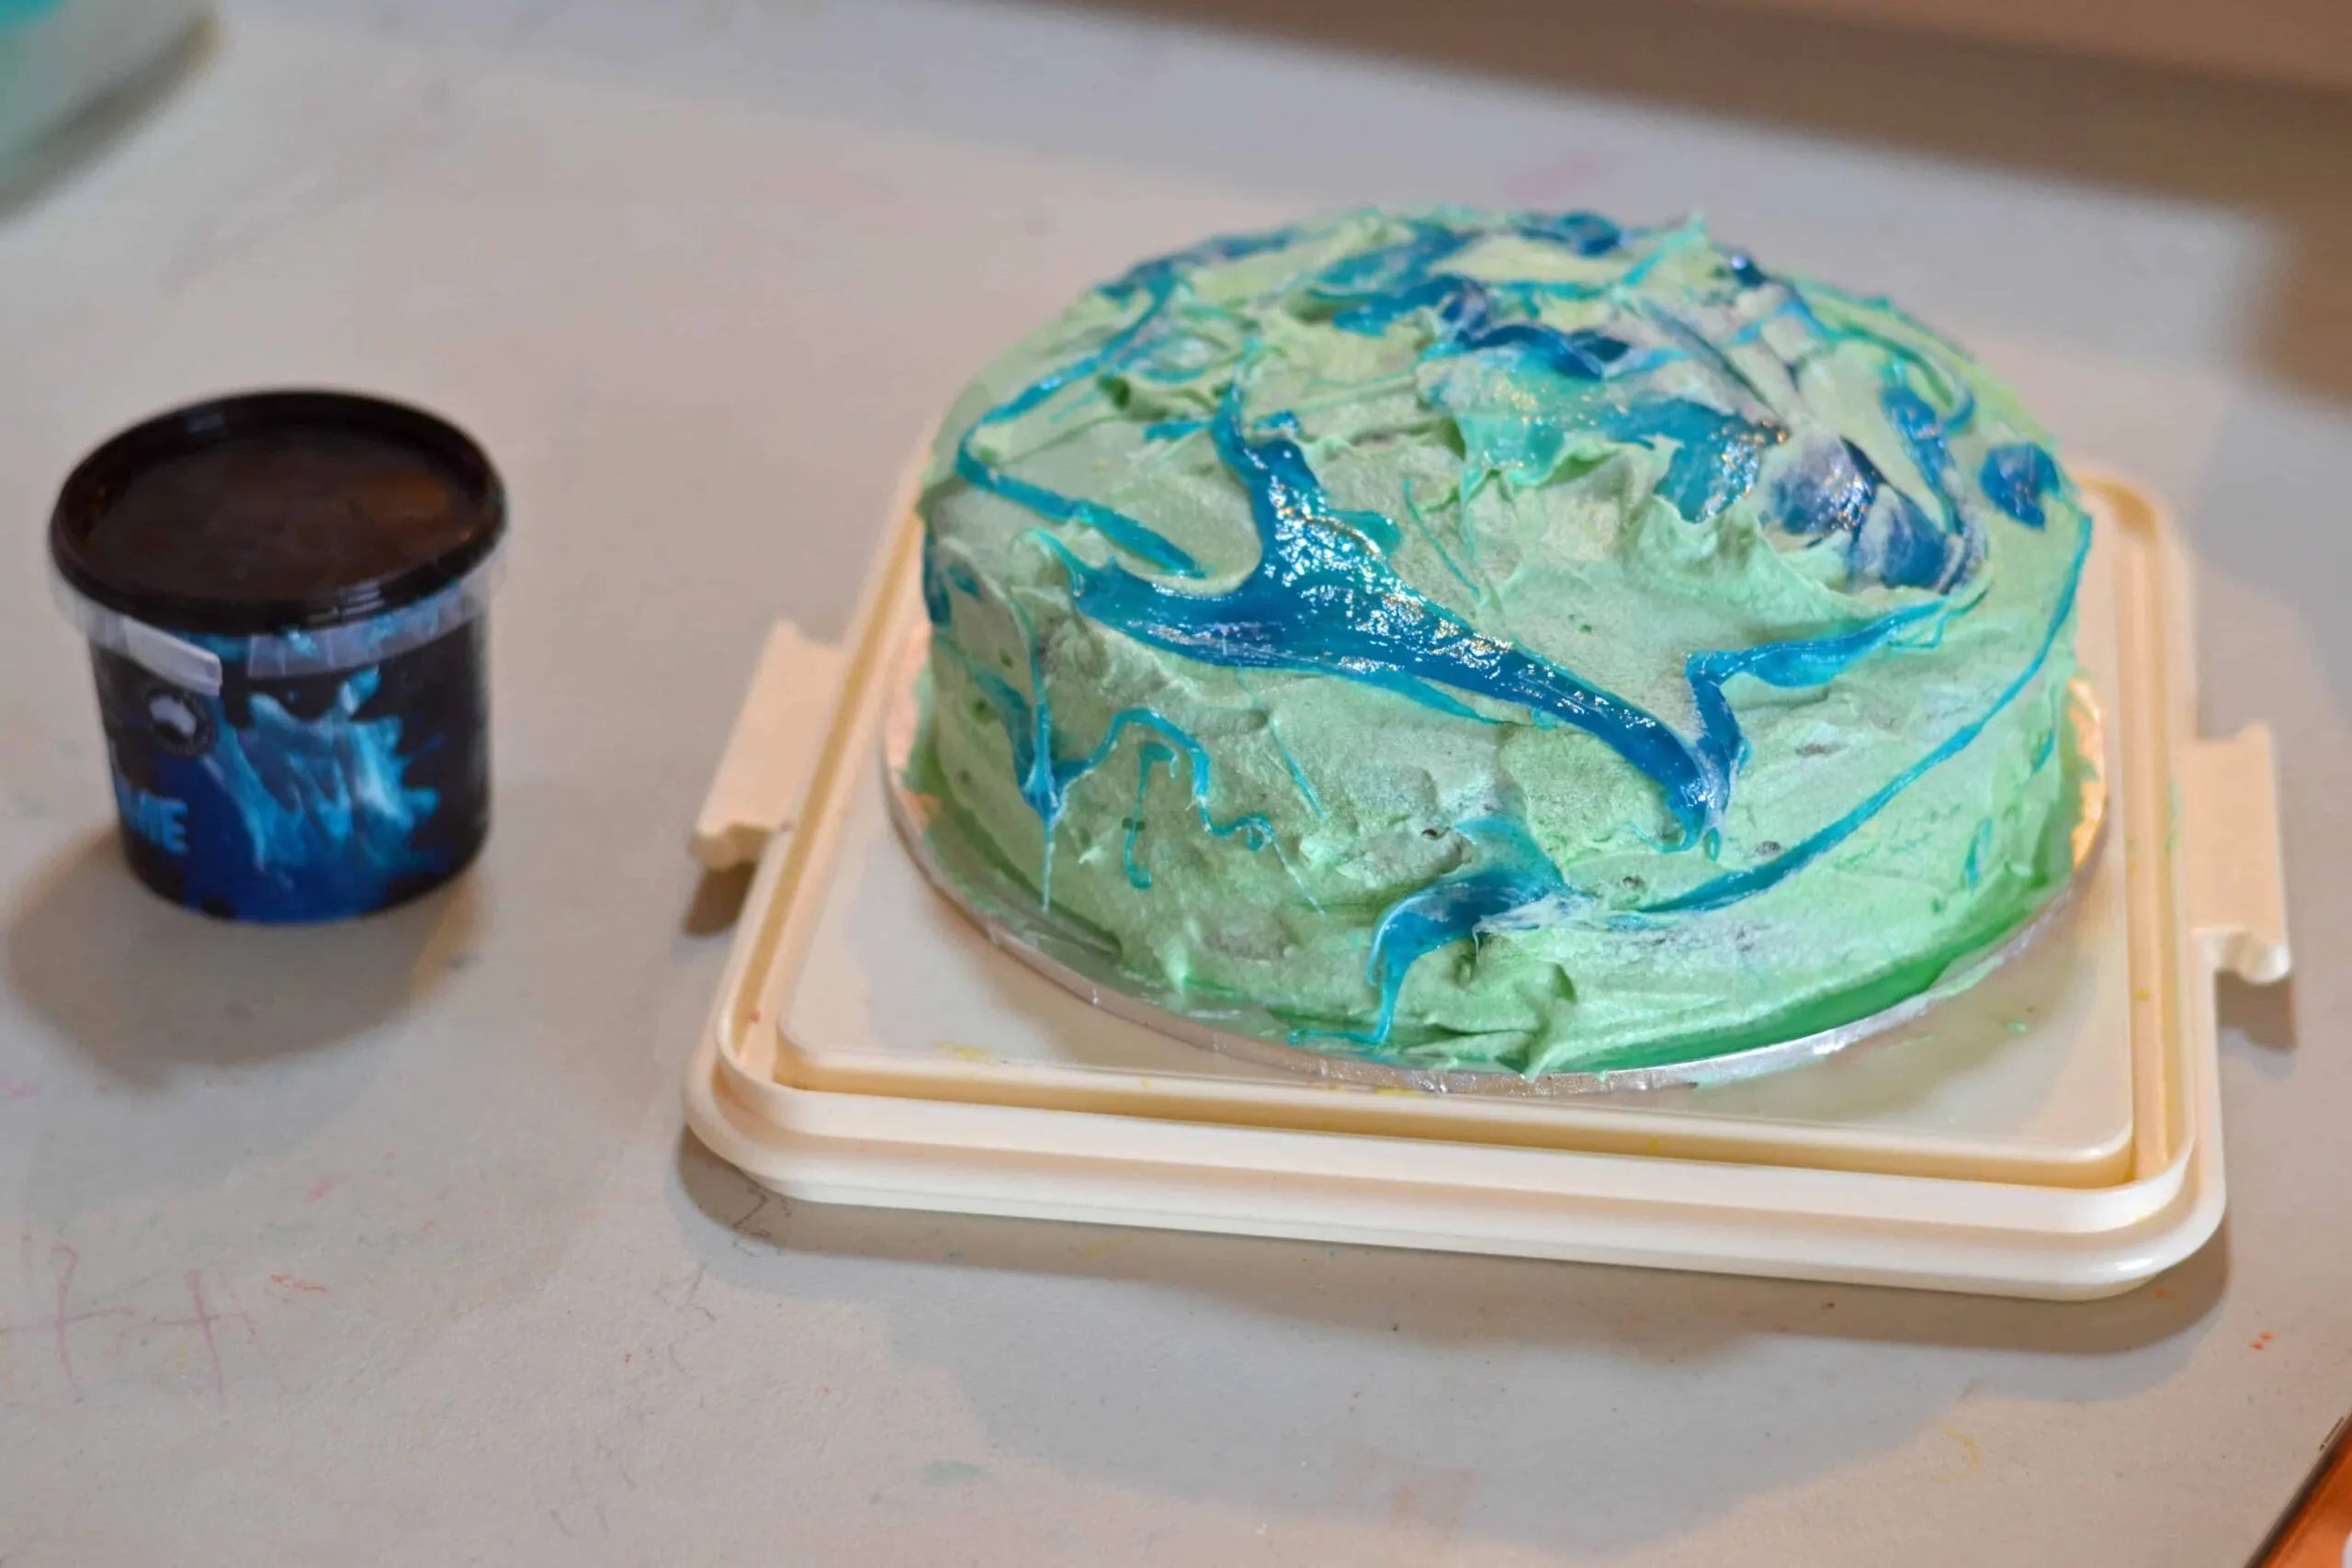
STEP NINE – Add swirls of edible slime in blue or green, or both, to the top and sides of your cake. This can be messy but imperfect swirls are fine.
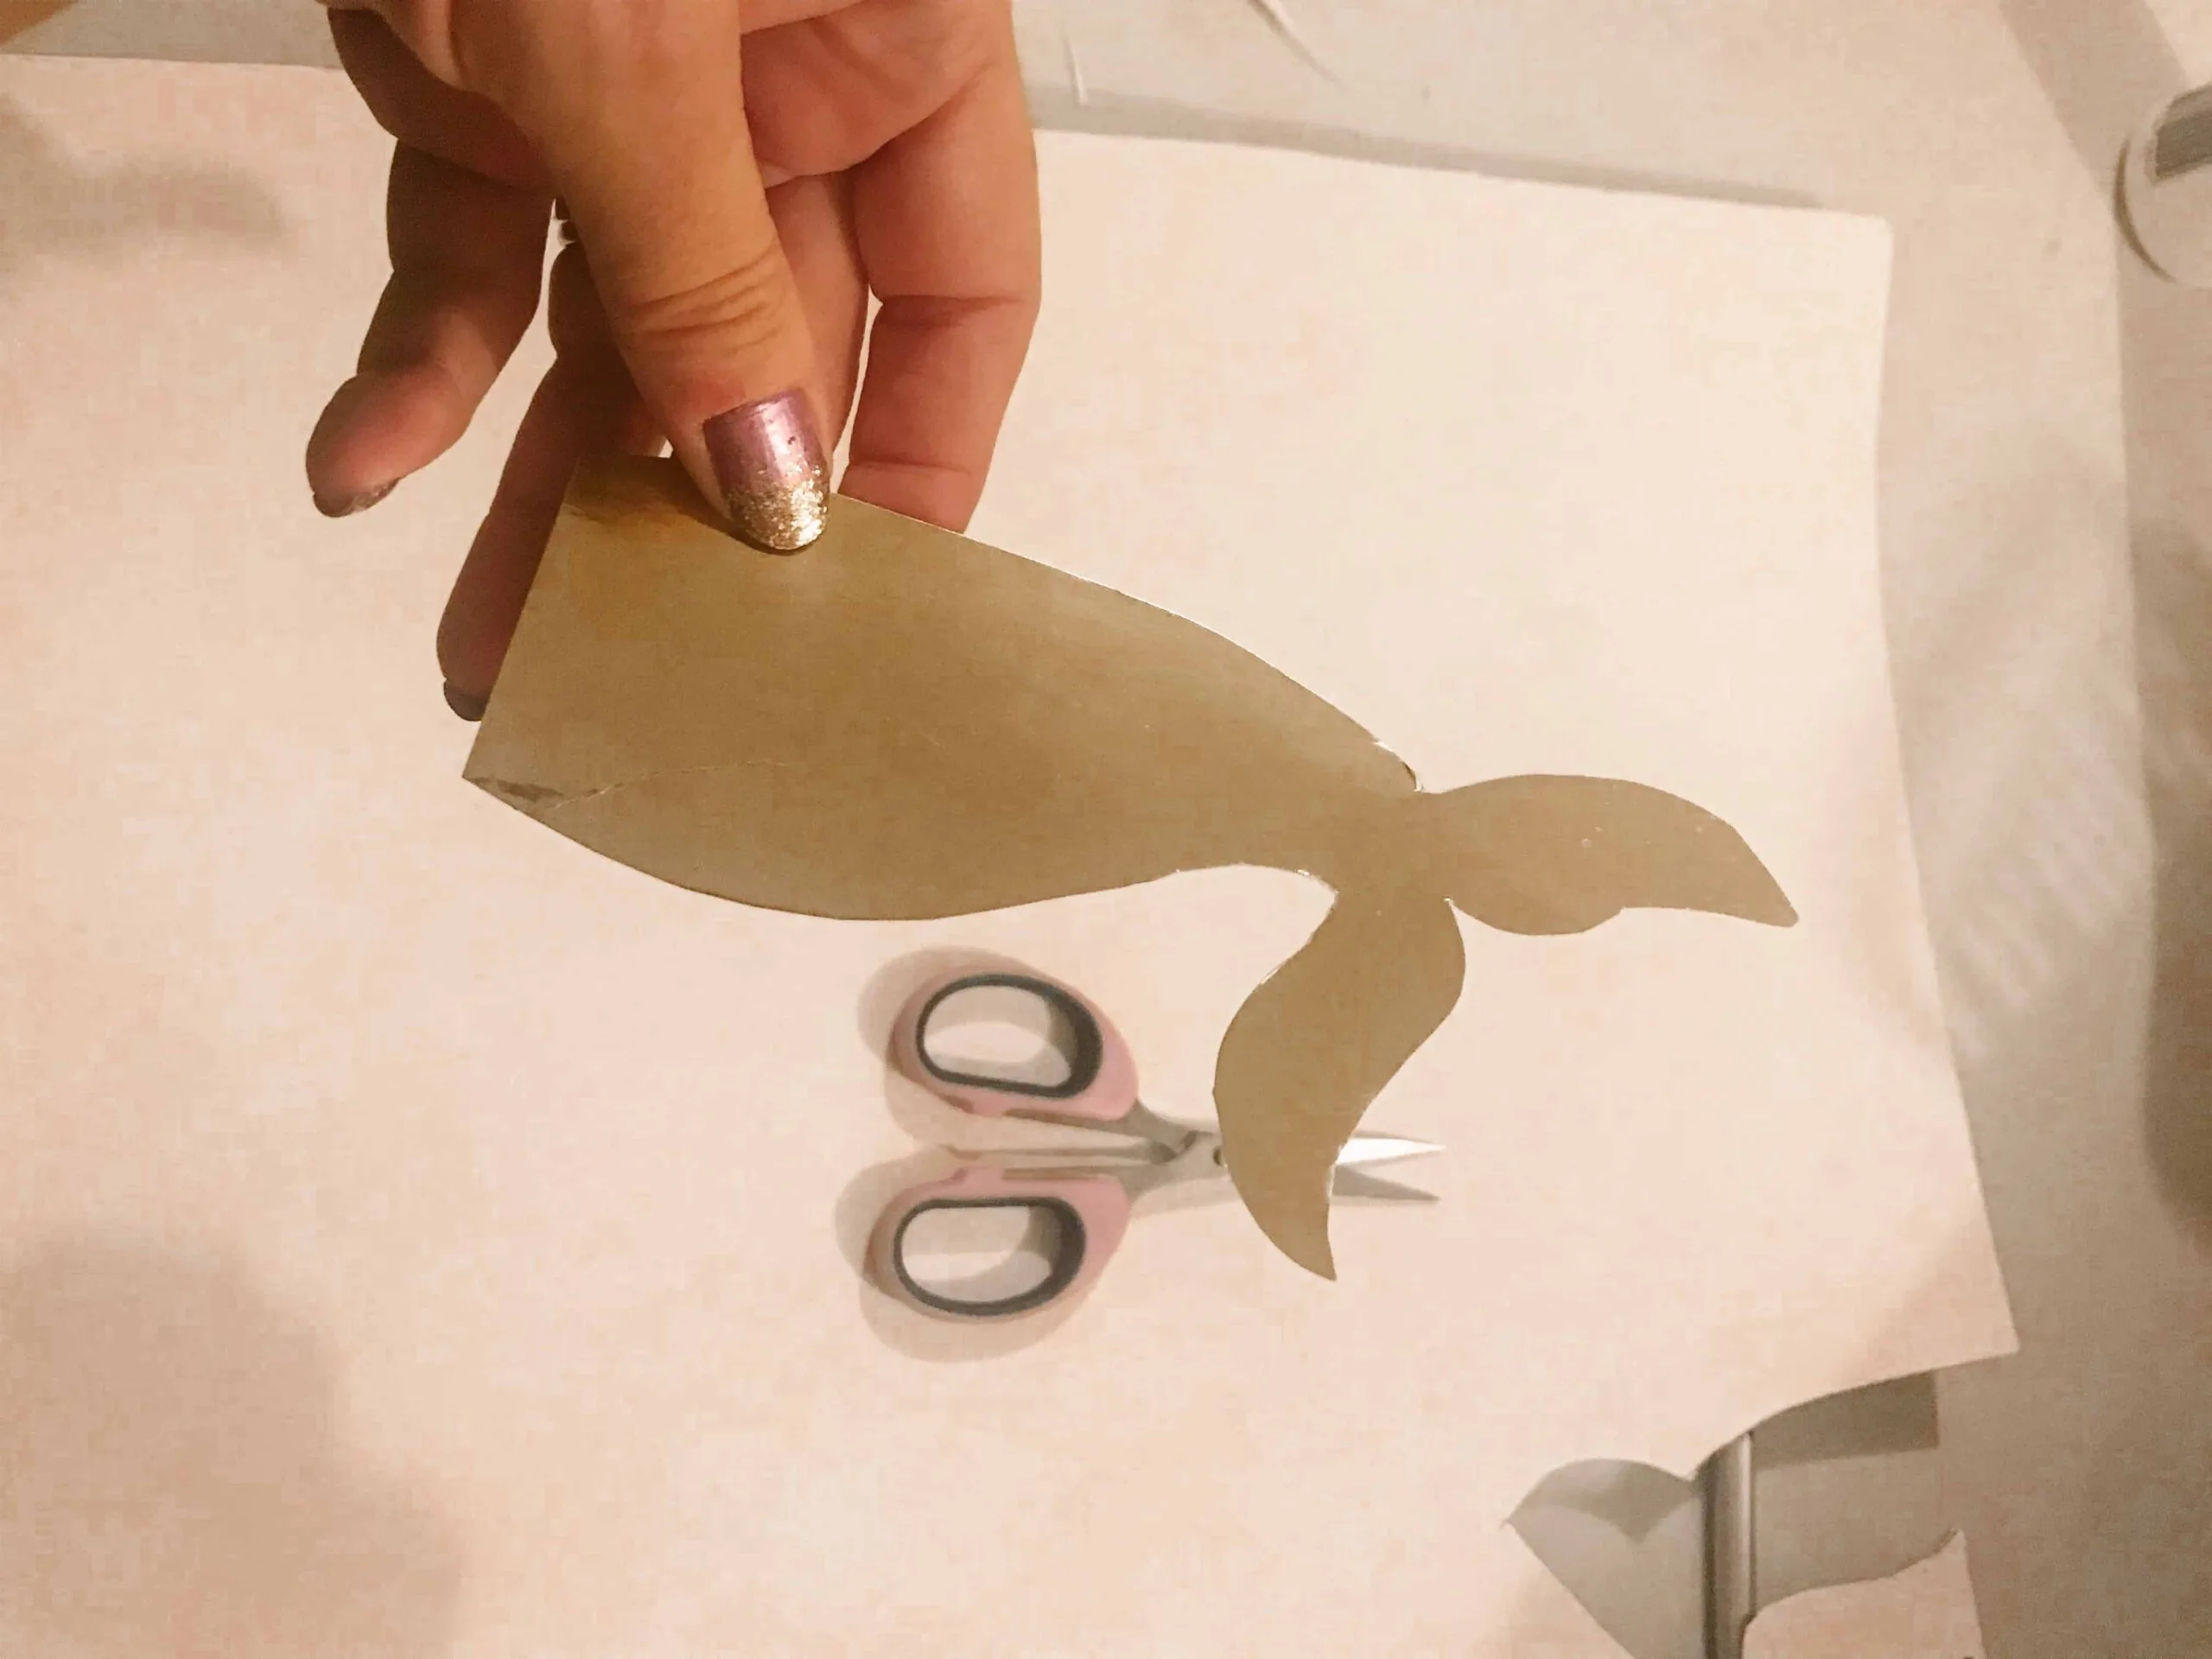
STEP TEN – To create your mermaid tail topper, draw a mermaid tail shape on the back of your gold cardboard. I did mine freehand but you can use a template if needed. Cut out your shape then attach to a paddle pop stick using tape. Ensure half the stick remains free at the bottom to stick into the cake.
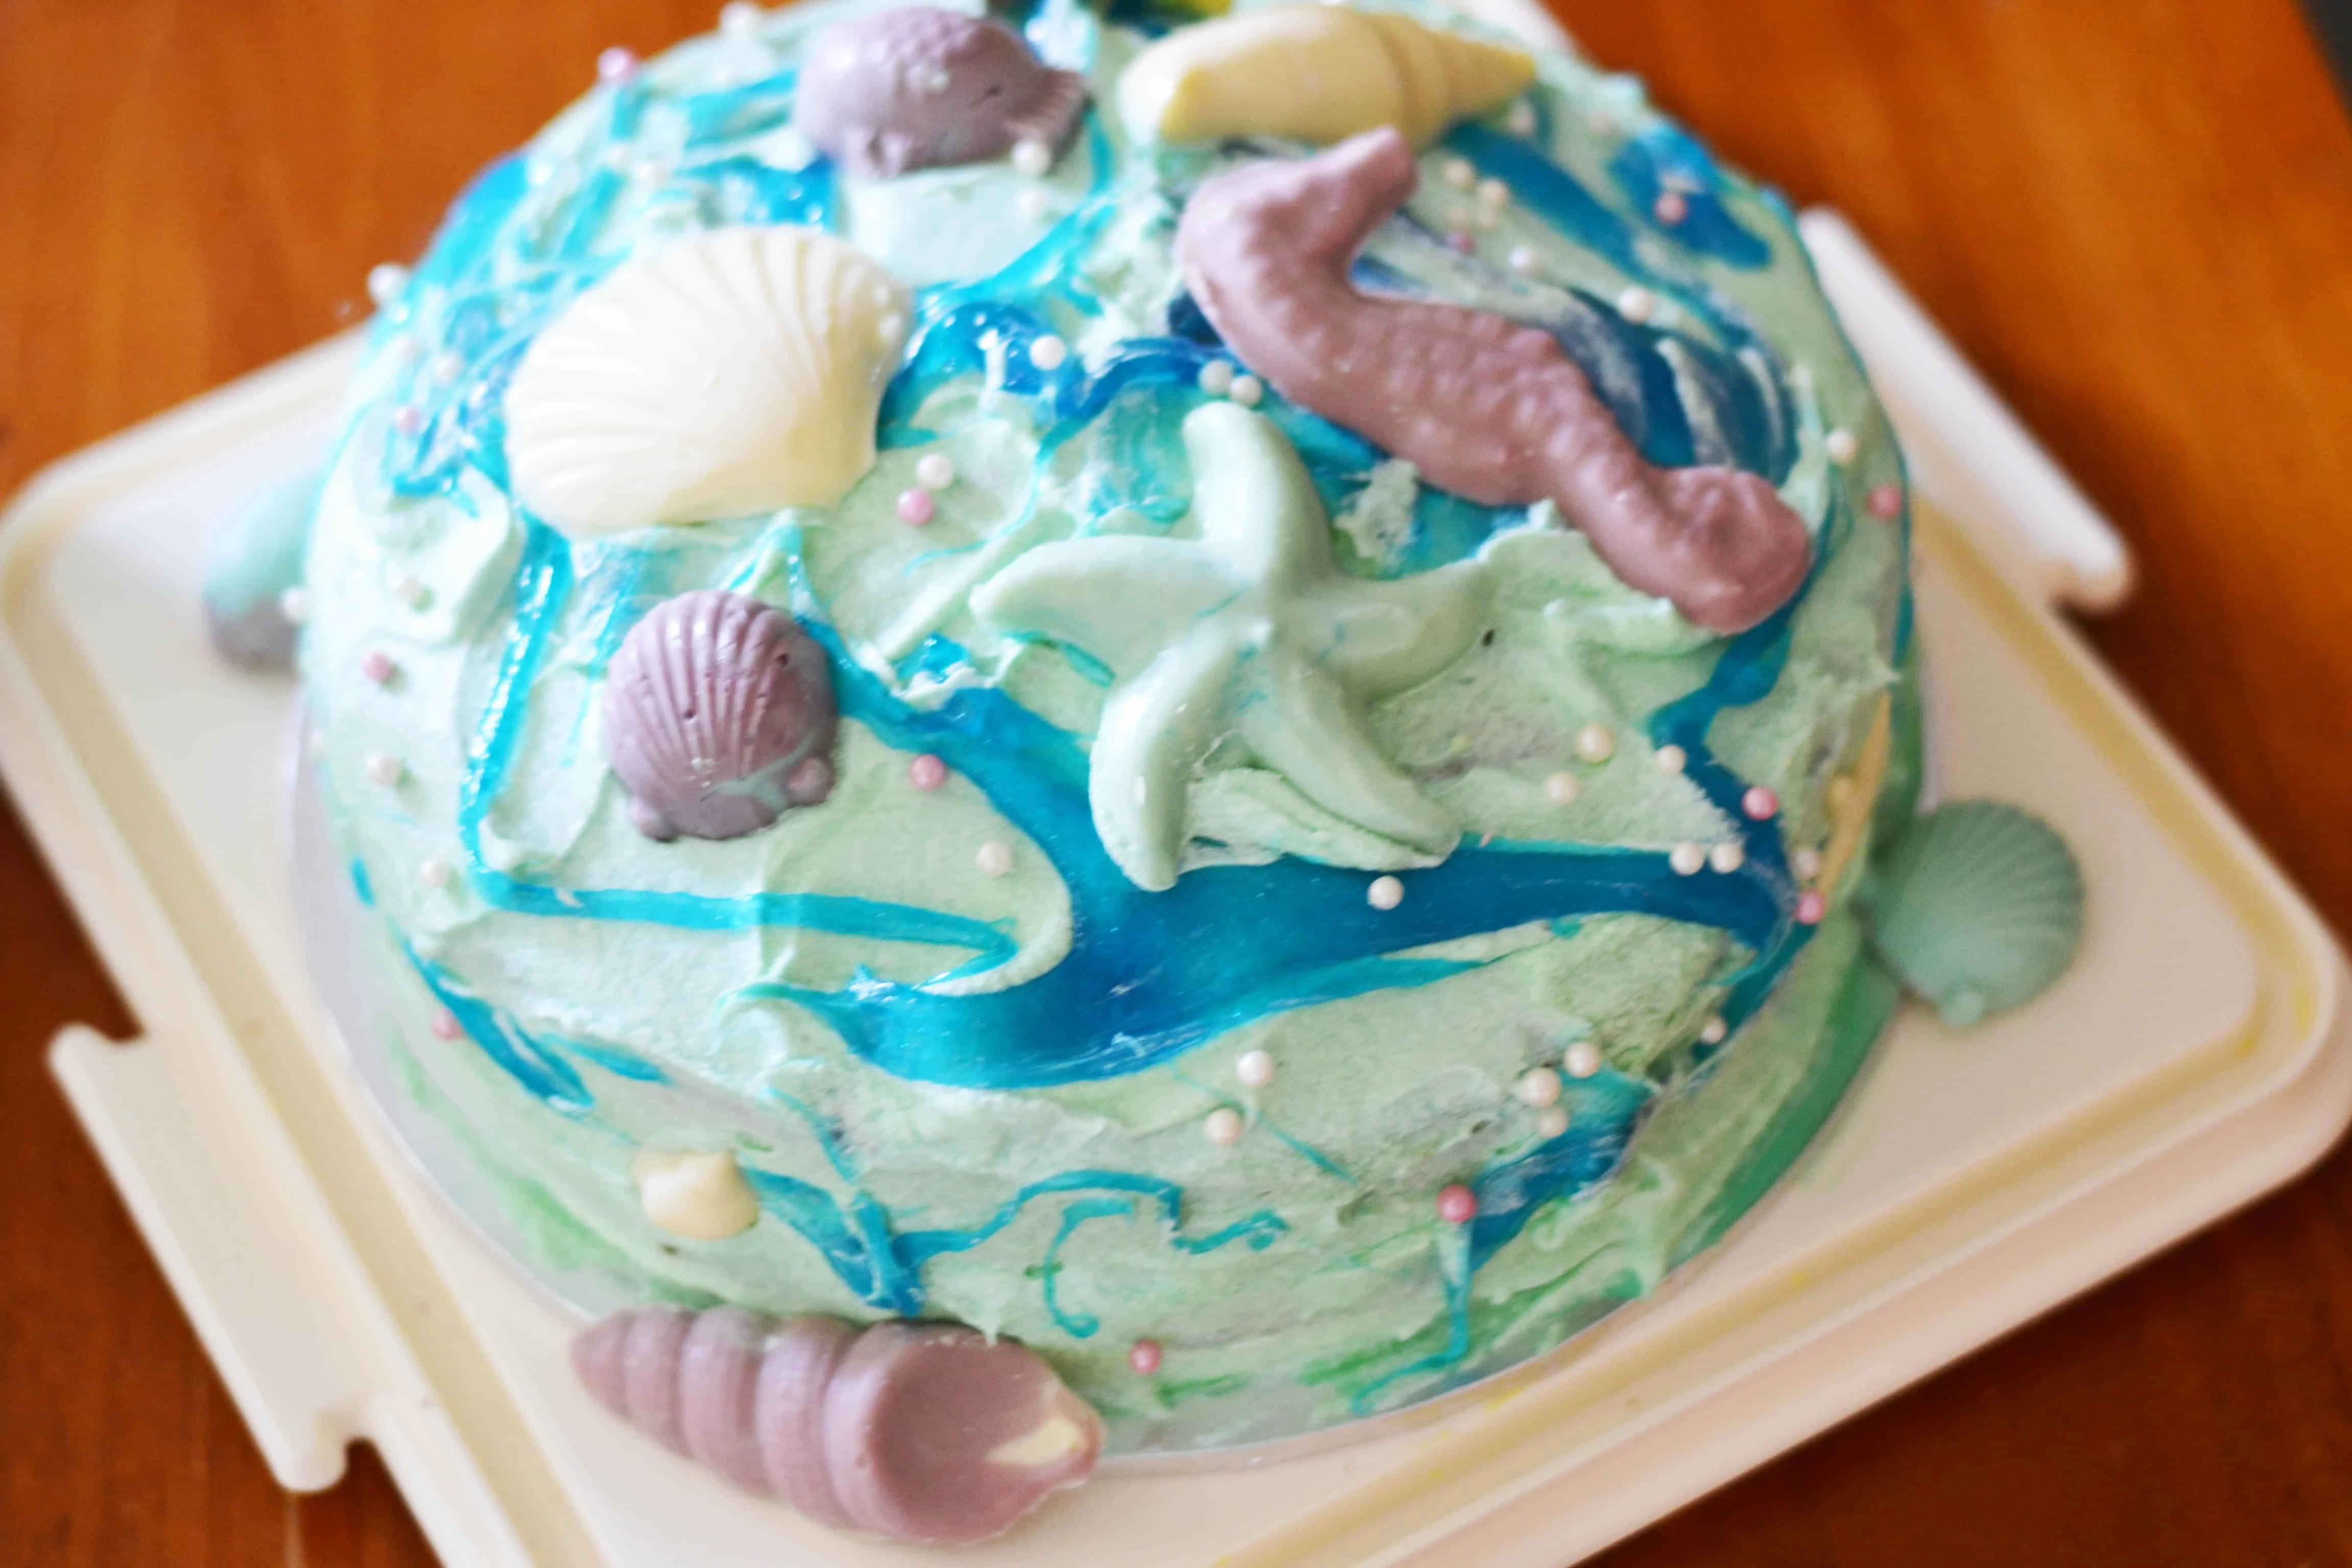
STEP ELEVEN – Position your mermaid tail were you want it on the cake then add seashell chocolate around the top and sides
STEP TWELVE – Use pearl cake decorating candy to finish the look by sprinkling them around the cake for simple DIY mermaid cake decorating.
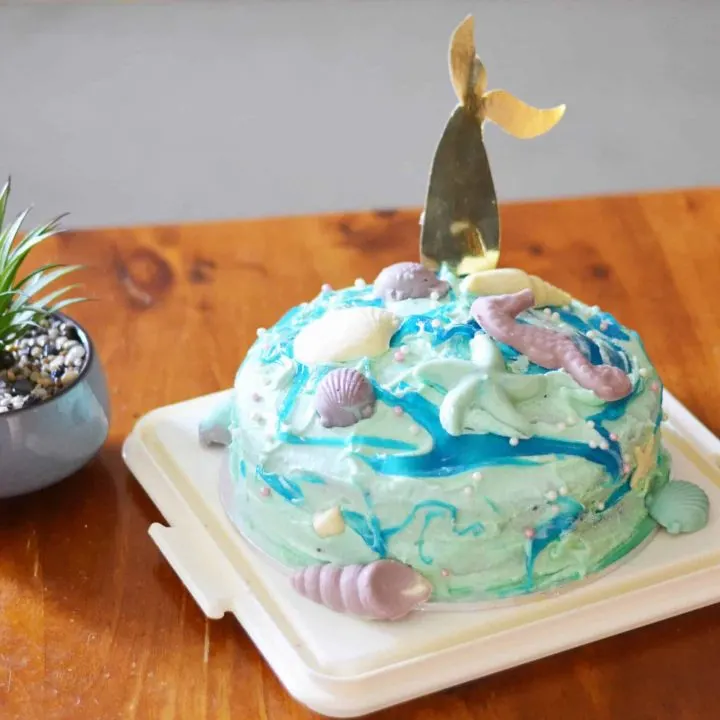
The best thing about turning 4 is that there isn’t a lot needed to make it an amazing event!
We really only had a DIY mermaid cake and some seashells scattered around the table. Yet that was enough to have our littlest miss telling the world about her mermaid party!
It sure turned out a lot better than my attempt at a Poppy troll head made of cupcakes for her big sister the year before. But even that made the kids happy. It’s the little things really!
If you are planning a kids birthday celebration soon, check out these fun ideas for birthday party entertainment if you are wanting to do something a little different next celebration.
You may also love these unicorn Rice Krispie treats – the perfect girly party food!
And for the non-edible slime, you can play with, check out these fun slime recipes to make at home.
Simple Mermaid Cake Tutorial
Make your own simple mermaid birthday cake with edible slime and chocolate seashells.
Materials
- 2 x cake mix (any flavour is fine)
- Buttercream icing
- Food colouring
- White chocolate melts
- Edible slime
- Candy cake decoration beads
- Gold cardstock
- Paddle pop stick
Tools
- Scissors
- Pencil
- 20CM circular cake pan
- Seashell chocolate moulds
Instructions
- Preheat oven to recommended temperature as per your cake mix or if you are using a cake mix recipe, follow the directions.
- Bake 2 circular cakes using a 20cm cake pan like this one. Allow cakes to completely cool before decorating.
- While your cakes are baking, melt around 100 grams of chocolate in a heatproof bowl. I usually do this in the microwave for around 30-40 seconds, stir then repeat until melted.
- Add a couple of drop of food colouring to your melted chocolate to achieve the desired colour. I did this in batches using different colours. Once mixed, pour into your chocolate moulds. Place in refrigerator to set.
- Mix up buttercream icing (or use the icing mix that comes with your cake mix if using one) using your electric mixer.
- Add blue food colouring to your icing mixture until you achieve the desired colour for your ‘water’.
- Spread a layer of icing on top of your first cake, then place the second cake on top. You can add a 3rd cake layer if you wish for a taller cake.
- Ice your stacked cake completely, covering the sides and top of your cake.
- Add swirls of edible slime in blue or green, or both, to the top and sides of your cake. This can be messy but imperfect swirls are fine.
- To create your mermaid tail topper, draw a mermaid tail shape on the back of your gold cardboard. I did mine freehand but you can use a template if needed. Cut out your shape then attach to a paddle pop stick using tape. Ensure half the stick remains free at the bottom to stick into the cake.
- Position your mermaid tail were you want it on the cake then add seashell chocolate around the top and sides
- Use pearl cake decorating candy to finish the look by sprinkling them around the cake for simple DIY mermaid cake decorating.
Notes
If you don't have any edible slime, you can use swirls of different coloured cake icing instead.
Recommended Products
As an Amazon Associate and member of other affiliate programs, I earn from qualifying purchases.
Get more party planning tips and ideas:
- How to plan a kid’s birthday party
- The best kids birthday party games & activities
- Party bag alternatives that aren’t candy
- Cool entertainment ideas for children’s parties
- Birthday treats for school that aren’t cupcakes
- Lunch party food ideas
- How to plan a party for adults
- Party theme ideas for kids
- Party theme ideas for adults
- Gift ideas for active kids
- Toy story birthday party ideas
- Trolls birthday party ideas
- Bluey birthday party ideas
- Marvel superheroes birthday party
- Fun activities for kids at home
- Fun activities to do in the backyard
- Balloon games for kids
Do your kids get excited about homemade birthday cakes too? Save this post to Pinterest for your next birthday celebration! Be sure to follow me on Facebook or YouTube for more occasion ideas like this!


